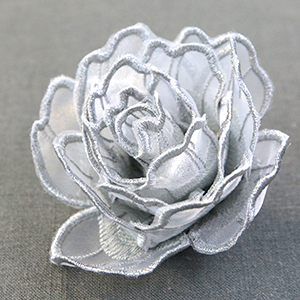
Let enchanting beauty blossom with this unique embroidery design! Stitch rose petals onto sheer organza, then cut out and assemble to make this flower come to life. Step-by-step instructions will show you how!
Supplies
To create your freestanding fabric flower, you'll need:
- Dazzling Rose (Freestanding Organza) embroidery design
- 1/3 yard of organza
- Embroidery thread
- Scissors
- Temporary spray adhesive (such as Gunold KK100)
- Water-soluble stabilizer (such as Vilene or Sulky Ultra Solvy)
- Hand sewing needle or glue
- 12 gauge jewelry or floral wire
- Wire cutter
- Needle-nose pliers
- Green floral tape (optional)
- Awl
Designs Used
This rose has been specially digitized to sew on organza hooped with a piece of water-soluble stabilizer. After the excess organza is cut away and the stabilizer is removed, beautiful embroidery and organza remains.
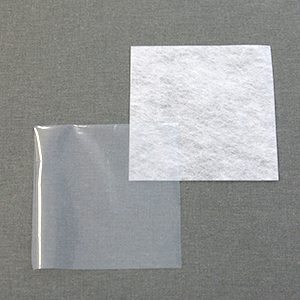
There are a couple of different kinds of water-soluble stabilizer. One is clear and plastic, and that brand is Sulky Ultra Solvy. The other is soft and fibrous, called Vilene. Both will work very well. Vilene is used in this demonstration.
Use a size 11 or 75/11 sharp sewing needle. A sharp sewing needle has a smaller, finer point than an embroidery needle. That means it will make smaller holes in the stabilizer.
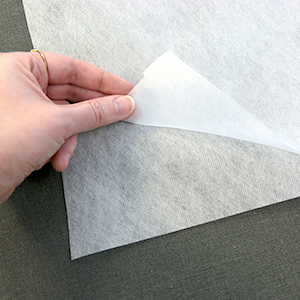
Cut a piece of both organza and water-soluble stabilizer that are larger than the hoop. Spray the water-soluble stabilizer with temporary adhesive, and smooth the piece of organza on top of it.
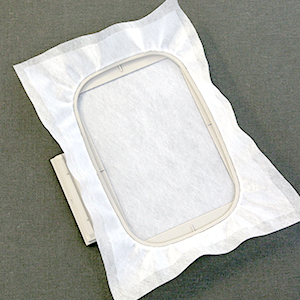
Hoop the organza and water-soluble stabilizer together firmly. Make sure it is nice and taut with no wrinkles.
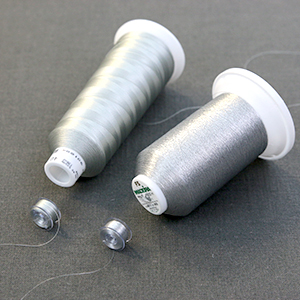
As these embroidered petals will be seen from both sides, it is very important to wind a bobbin to match every thread color used in the design.
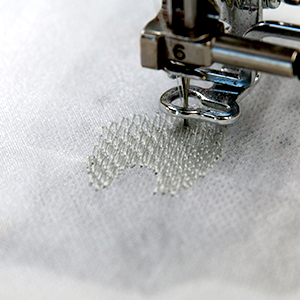
Load the first embroidery file onto the machine, and place the hoop onto the machine. Begin to embroider the design. The first thing to sew out will be the "petal shading".
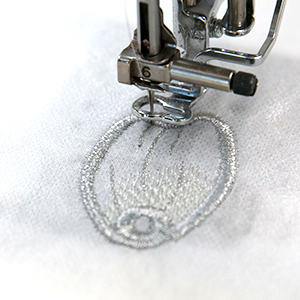
Then follow the color change sheet, matching the bobbin as you go. The "petal borders" and remaining details will embroider to finish the petal piece.
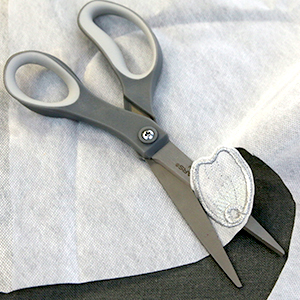
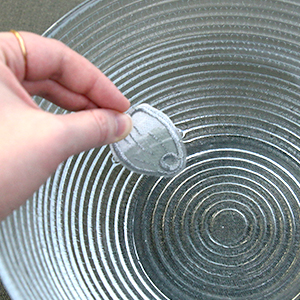
Once the embroidery is finished, unhoop the petal piece, and carefully cut around the outer edge of the embroidered borders.
Cut as close to the embroidery as you are comfortable, but make sure not to cut into the embroidery. If you accidentally cut the embroidery, use a small amount of clear fabric glue to adhere the stitching in place so it does not unravel.
The stabilizer's packaging should give instructions for removing the remaining water-soluble stabilizer. For Vilene, soak the embroidered flower in water for a few hours.
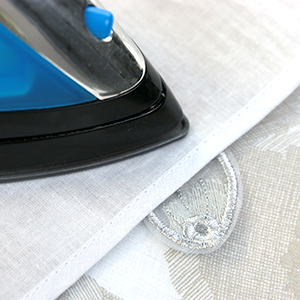
Allow the flower pieces to air dry. If needed, press the pieces with a pressing cloth on top to remove any wrinkles in the organza.
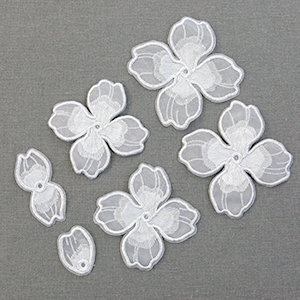
Repeat these steps to embroider the other embroidery files ("b", "c", and "d") containing the other petal pieces.
To make a complete rose, embroider two copies of both of the four petal pieces ("c" and "d"). In the end you should have six embroidered petal pieces to assemble the full rose.
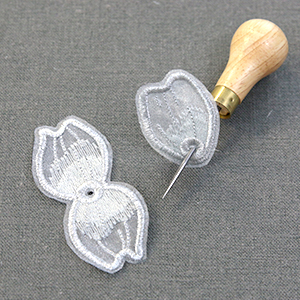
Each of the petal pieces has a round eyelet. Punch a hole through the center of the eyelet, so the wire can pass through easily.
An awl works best for this step, but you can also use a large sharp needle, seam ripper, or the point of a small sharp needle. Just be careful not to cut the embroidery.
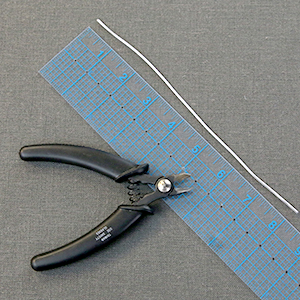
This rose is assembled on a wire. If you want a stem, cut a piece of wire that is about 8" long. If you do not want a stem, cut a piece of wire that is 4" long.
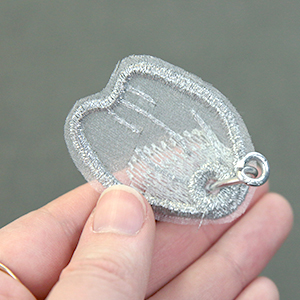
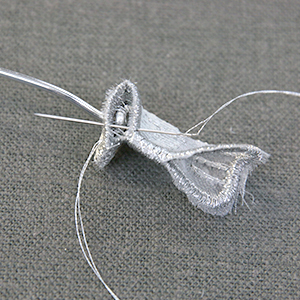
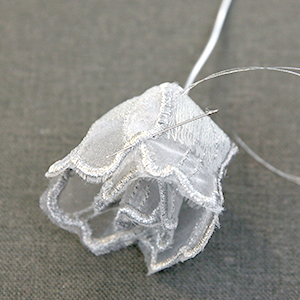
Curl the end of the wire and slide it through the eyelet of the single petal piece (file "a"). Make sure the curl of the wire is resting against the wrong side (back/bobbin side) of the petal.
Hand sew the wire curl to the single petal place. This will prevent it from moving around or poking out once the flower is finished.
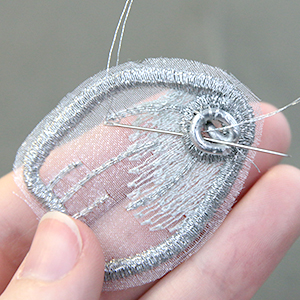
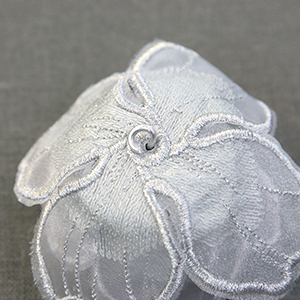
Curl in the sides of the single petal until the opposite sides touch, making the petal into a tube.
Make sure the side with the wire curl is on the inside of that tube.
Hand stitch the two edges together 1/2" from the bottom of the petal.
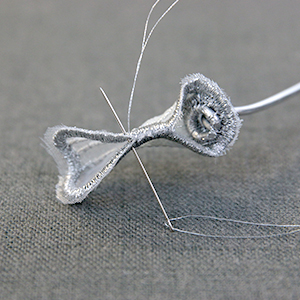
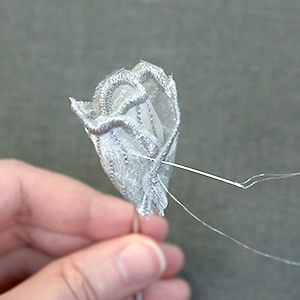
Fold the bottom of the petal up until it touches the sewn sides.
Hand sew the edges of the folded up bottom to the edges of the sides. In the end, the wire curl should be completely contained inside the organza petal. This will be the center of the rose.

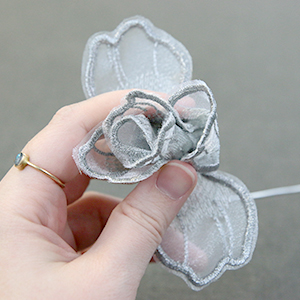
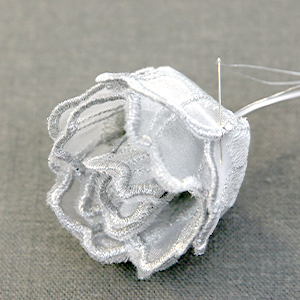
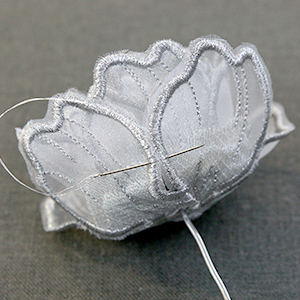
Slide the two petal piece (file "b") onto the wire. Make sure the wrong side of the two petal piece is against the center piece ("a").
Rotate the two petal piece until the side seam of the center piece ("a") lines up with the center of either petal.
Use a hand sewing needle and thread to stitch the two pieces together where they touch. Stitching them together in 2-4 places around the base of the folded up petal piece is enough to adhere them together. Adhering the two pieces together will keep them from rotating or separating while you work.
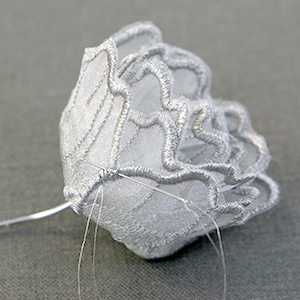
Fold the two petals up around the center piece, just barely overlapping the sides of the petals. Then carefully hand stitch the two petals together where they overlap on both sides.
Next slide the first small four petal piece (file "c") onto to the wire.
Make sure the wrong side of the four petal piece is against the two petal piece (file "b"). Then rotate the new piece until center of two new petals line up with the overlaps of the last piece.
Use a hand sewing needle and thread to stitch the two pieces together where they touch. Stitching them together in 2-4 places around the base of the folded up petal piece is enough to adhere them together.
Fold the two opposite petals up, starting with the two petals that are lined up with the overlapping petals from the last piece.
Then fold the other two petals up, so all the petals overlap 3/8"-1/2". Hand sew the four petals together where they overlap.
Repeat to add the second small, four petal piece (file "c") onto the wire.
Line up the centers of the four new petals with the four overlaps of the last piece.
Use a hand sewing needle and thread to stitch the two pieces together where they touch in 2-4 places.
Fold up the four petals, so they overlap a lot less than the previous petal piece. This will make the rose petals open up more with every piece you add.
Then hand sew the petals together where they overlap.
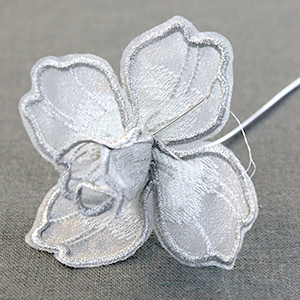
Slide the first large four petal piece (file "d") onto the wire. Make sure the wrong side of the large four petal piece is against the small four petal piece (file "c"). Then rotate the new piece until the center of the four new petals line up with the four overlaps of the last piece.
Use a hand sewing needle and thread to stitch the two pieces together where they touch in 2-4 places.
Fold all four petals up together so each one just barely overlaps the petals next to it. Then hand sew them together where they overlap.
Repeat to slide the second large four petal piece (file "d") onto the wire.
Make sure the wrong side of the large four petal piece is against the small four petal piece (file "c"). Then rotate the new piece until center of the four new petals line up with the four overlaps of the last piece.
Use a hand sewing needle and thread to stitch the two pieces together where they touch in 2-4 places.
For the final four petal pieces, do not overlap the petals at all. Instead, fold them up until the edges of each petal is just touching the petal next to it. Then hand sew the edges of the petals together where they touch.
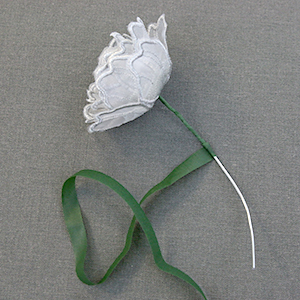
If you are making a stem, wrap the wire with floral tape.
If you are not making a stem, curl the wire against the bottom eyelet of the final four petal piece, so it cannot fit back through the eyelet. Then cut off any excess wire.
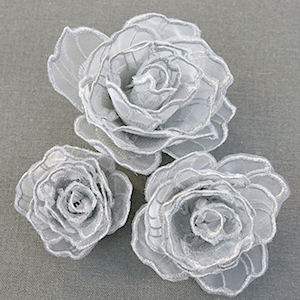
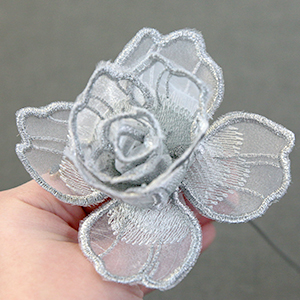
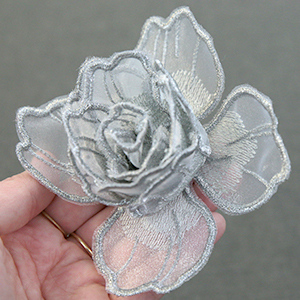
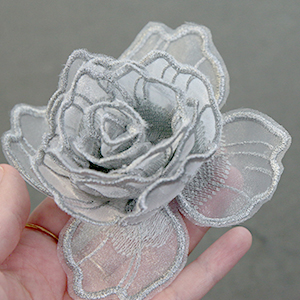
Your organza rose is complete! Let these beauties bloom in a variety of sizes to create lovely accessories and decor!


