


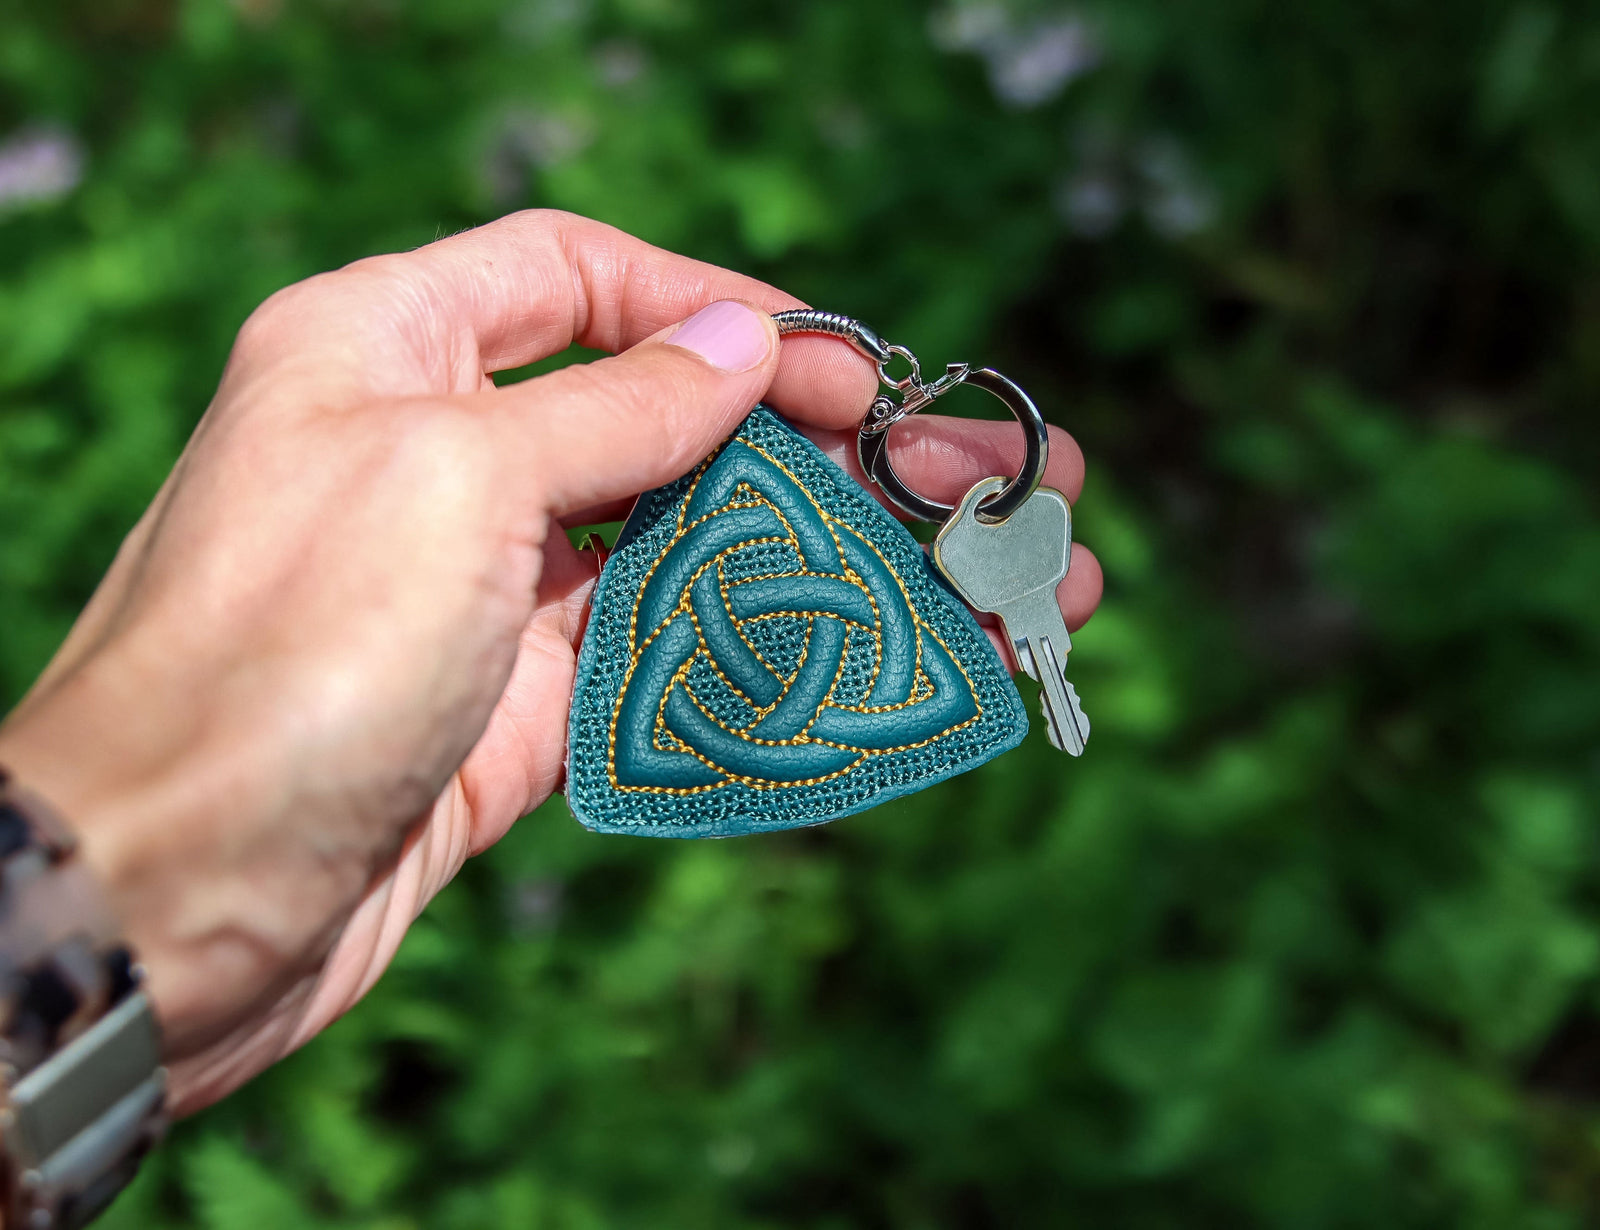
Create your own puff underlay keychain with this new puff foam technique!
Supplies & Materials:
- Thread
- Non Fraying Fabric - we are using faux leather
- Scissors
- Keychain Hardware
- Awl
- Cutaway stabilizer
- Temporary spray adhesive
- Puff Foam
The designs used in this tutorial include:
Hoop a piece of cutaway stabilizer.

Attach the hoop onto the machine, and load the embroidery file. Begin to embroider the design. The first thing to embroider will be a dieline (or outline stitch.) This marks the area on the stabilizer where the puff foam will be placed.

After the dieline has sewn, remove the hoop from the machine, but do not unhoop the stabilizer. Cut a piece of embroidery puff foam that is slightly larger than the stitched dieline.If you want a more dramatic puff, you can stack two pieces together.

Spray a piece of embroidery puff foam with temporary spray adhesive and smooth it onto your cutaway stabilizer over the dieline. If you do not have embroidery puff foam, one or two pieces of craft foam will also suffice.

Place the hoop back onto the machine put the hoop back on the machine embroider the puff perforation line. This will make it easy to tear away the excess foam around the puffed area.

Remove the hoop from the machine and carefully remove the puff foam outside of the die line. If there are small areas that did not tear completely cleanly, you can use small scissors or tweezer to help remove those parts.

Place the hoop back on the machine and stitch the top fabric dieline. Depending on the design it may or may not be the same as the puff foam dieline.

Remove the hoop from the machine and cut a piece of your main fabric that is slightly larger than the stitch dieline. Spray it with temporary spray adhesive and smooth it onto the hooped stabilizer and puff foam piece.

Place the hoop back on machine and embroider the top piece tackdown.

Once the front fabric piece is tacked down into place, embroider all the inner details. Make sure to stop before sewing the "back piece tackdown" step.

Remove the hoop from the machine. Cut a piece of the back fabric that is slightly larger than the front piece dieline. Spray with temporary spray adhesive and smooth it onto the back of the hoop.

Wind a bobbin with matching thread.

Place your hoop back on the machine and embroider the back piece tackdown and finishing stitch.

Once stitching is complete, remove your design from the hoop and trim away excess fabric.

Use a small pair of scissors or an awl to poke a hole in the circle at the top of the keychain.

Attach keychain hardware and your project is complete!
