Take your decor to new heights with lovely lace layered on top embroidery! Stitch each piece of this flower separately, then attach to the background design. These step-by-step instructions will show you how!
Designs Used
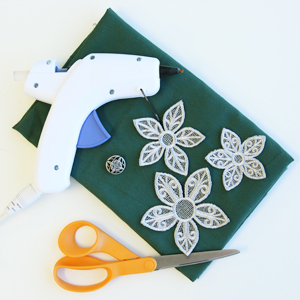
To create this unique effect, you'll need:
- Fanciful Flower (Layered Lace) embroidery design
- Heavy duty water-soluble stabilizer (such as Vilene or Sulky Ultra Solvy)
- Fabric for your embroidered backdrop
- Medium weight cutaway stabilizer
- Temporary spray adhesive
- Embroidery thread
- Scissors
- Glue gun or hand sewing needle
- One button
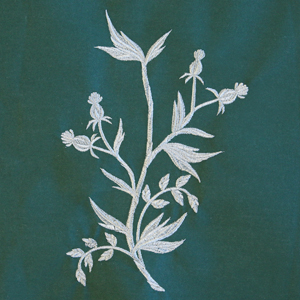
Begin by spraying a piece of cutaway stabilizer and smoothing it onto the wrong side of the backdrop fabric. Hoop the fabric and stabilizer together tightly, making sure the fabric is taut and there are no wrinkles.
Load the first embroidery file (labeled with an "a"), and follow the color change sheet to embroider the design. Once finished embroidering, trim away the excess stabilizer from the back, and set aside for later.
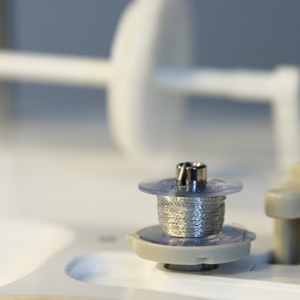
Now it is time to sew the first lace piece. Since both sides of the lace petals will be seen, wind a bobbin with the same thread as used in the top needle.
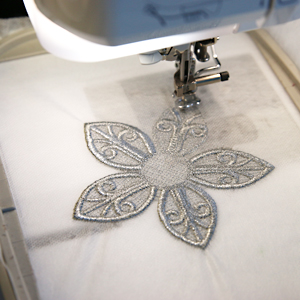
Then hoop a piece of heavy water-soluble stabilizer tightly, and load the first lace piece (labeled with a "b"). Embroider the design.
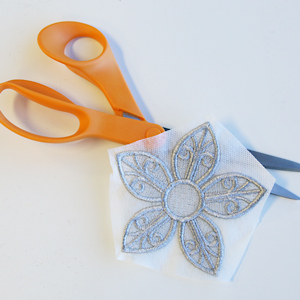
Once the embroidery is finished, unhoop the design, and trim away the excess stabilizer from around the lace piece.
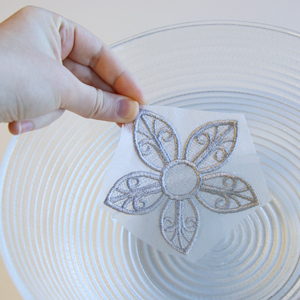
Then follow the directions on the stabilizer packaging to remove the rest. For Vilene, simply soak the lace piece in water for a few moments to dissolve the stabilizer.
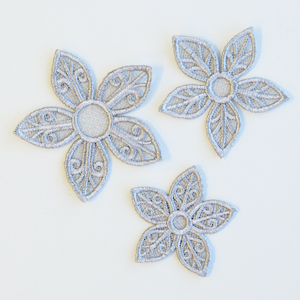
Allow the lace piece to air dry, and then press it flat with an iron.
Repeat the last few steps to embroider and prepare the other two lace petal pieces (labeled with a "c" & "d").
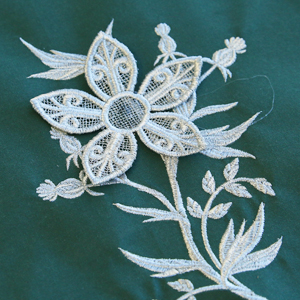
Now that all the parts are embroidered, it is time to assemble to design.
Lay the backdrop ("a") onto the table with the right side facing up. Take the largest lace petal piece ("b"), and position it over the top section of the main stem in the open area with less details.
Use a hot glue gun or a hand sewing needle to adhere the lace piece in place. For best results only glue the centers of the lace pieces down, and leave the petals themselves loose.
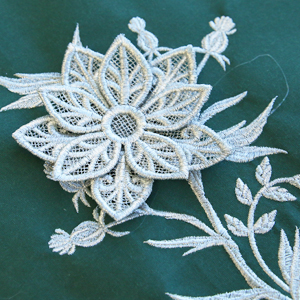
Then take the medium sized lace petal piece ("c"), and arrange it on top of the first one you added.
Match up the center circles, and rotate it until the petals are sitting in between the larger ones. Glue the piece in place just in the center of the piece.
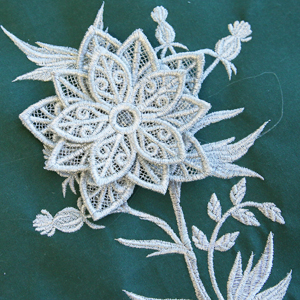
Finally take the smallest lace petal piece ("d"), and arrange it on top of the other two. Match up the center circles, and rotate it until the petals are sitting in between the medium ones. Glue the piece in place just in the center of the piece.
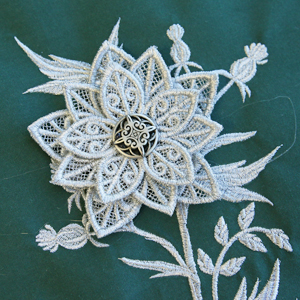
Finish your 3D bloom off by adding a button over the center of the lace petals to add a final bit of flair. Use glue or sew the button into place.


