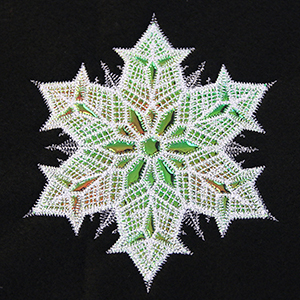
Add a sprinkle of glitz and glam to any project with Mylar applique! Specially digitized designs allow the Mylar to be used as applique without perforating and being "cut out." Follow along with these step-by-step project instructions to learn more!
Designs Used
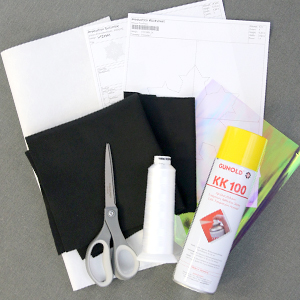
To create your Mylar applique design, you'll need:
- Mylar applique design. We're using Twinkling Snowflake (Applique) (Mylar)
- Mylar material (for applique)
- Small piece of fabric (for Mylar backing)
- Medium weight cutaway stabilizer.
- Temporary spray adhesive (such as Gunold KK100)
- Embroidery thread
- Scissors
Mylar applique designs have been specially digitized to be prevent the embroidery from "cutting out" the Mylar in between the embroidered details. This prevents the Mylar from being overly perforated and falling off of the design after it has sewn.
Normal fabric applique can also be used on these designs in lieu of Mylar.
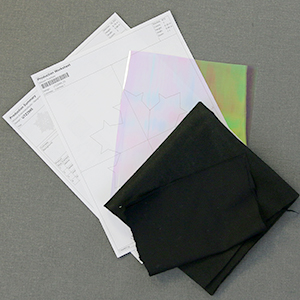
When you download a Mylar applique design, you will find multiple files. One is an embroidery file, and the other are dieline file is marked with the letters "DL". Dielines are used to cut the fabric to the correct shape and size. Open and print each dieline file using embroidery software. If you do not have embroidery software, take a look at our helpful video on using dielines.
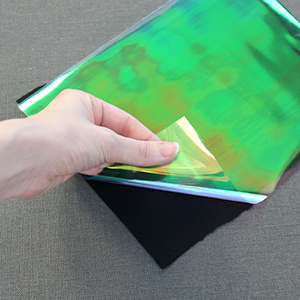
First spray one side of a piece of Mylar with temporary spray adhesive. Smooth the Mylar onto the right side of a piece of fabric that matches the chosen fabric.
This fabric backing makes the Mylar easier to cut and place on the design.
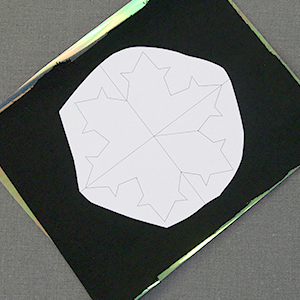
Spray the back side of the printed paper dieline with temporary spray adhesive and place it on the back side of the backing fabric. Placing the paper dieline on the back of the fabric instead of directly on the Mylar will prevent the adhesive from being left on the Mylar.
If the dieline is not symmetrical make sure to mirror it before printing.
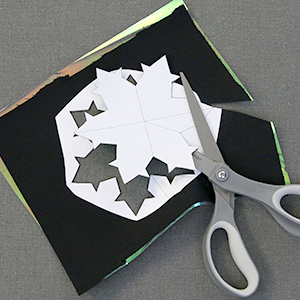
Cut the dieline shape out of the adhered Mylar and fabric, then remove the paper dieline. If there are any remaining dieline pieces repeat placing the dieline and cutting them out.
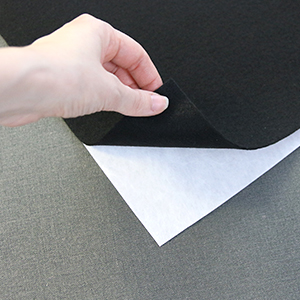
Spray one side of a piece of cutaway stabilizer with temporary spray adhesive. Smooth the stabilizer onto the wrong side of the main chosen fabric.
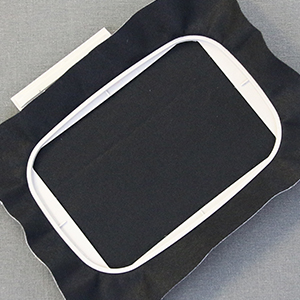
Hoop the fabric and stabilizer firmly. Make sure it is nice and tight with no wrinkles.
Attach the hoop onto the machine, and load the embroidery file (not the dieline files).
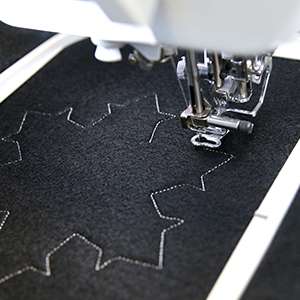
Embroider the design. The first thing to embroider will be a dieline (or outline stitch). This marks the area on the fabric where the applique piece will be placed.
After the dieline has sewn, remove the hoop from the machine, but do not unhoop the stabilizer.
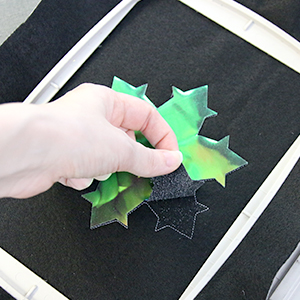
Spray the back side of the applique piece (wrong side of the backing fabric) with temporary spray adhesive. Smooth the fabric and Mylar piece onto the stabilizer inside of the sewn dieline.
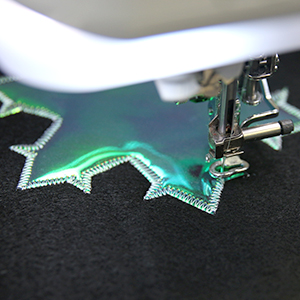
Then place the hoop back onto the machine and embroider the tackdown for the applique piece.
The tackdown will hold the fabric piece in place for the remainder of the design.
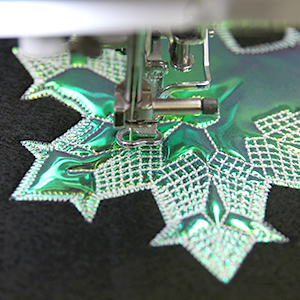
Follow the color change sheet and embroider any inner details.
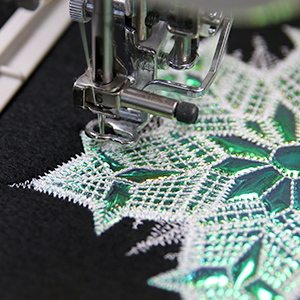
When all of the inner details have been embroidered, follow the color change sheet and embroider the finishing border.


