Welcome to the wonderful world of raw-edge applique! Similar to traditional applique, this technique involves two or more pieces of shaped fabric, combined with embroidery to create a design. The difference is that raw-edge applique doesn't have a satin border, so the edges can run free! Here's how to make it happen....
Designs Used
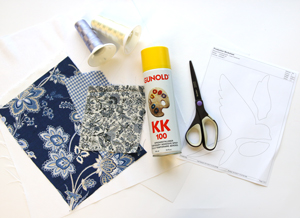
To craft your raw edge applique project, you will need:
- An applique embroidery design
- Fabric for the applique pieces (for this example we are using quilter's cotton)
- 40 wt. rayon thread
- Fabric for your project (whatever you are embroidering onto)
- Printed templates of the dieline files
- Medium weight cutaway stabilizer
- Temporary spray adhesive
- Scissors
Let's start with those printed dieline templates...
The dieline files for your applique design are included in the zipped file folder and have "DL" in the filename.
You can either print the dielines as paper templates at actual size with the assistance of embroidery software, or stitch the dieline directly onto your chosen applique fabric. (Here's how if you need more details.)
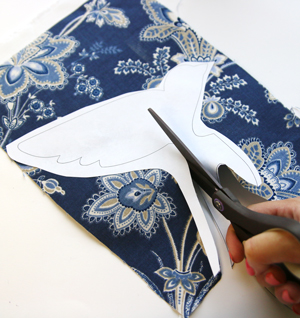
Lightly spray the back of your template with temporary spray adhesive and put it onto your fabric. Carefully cut along the dieline to get your applique shape(s).
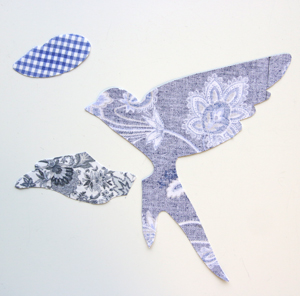
For the Sketched Sparrow design, there are three applique fabric pieces that need to be cut.

Next, spray your medium weight cutaway stabilizer with temporary spray adhesive and adhere it to the back of your project fabric, then hoop both your fabric and stabilizer taut together.
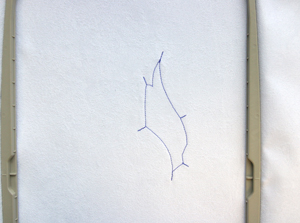
The first thing to stitch out is a dieline for your (first) applique piece.
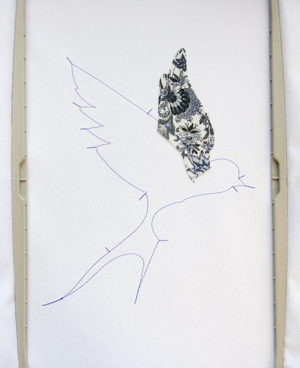
Lightly spray the back of the corresponding applique fabric piece with temporary spray adhesive and place it over the stitched dieline. Your machine will sew out a tackdown.
If you are using a multi-piece applique design, individual dielines and tackdowns will sew for each applique piece. Your machine will treat these as color changes and stop before each step.
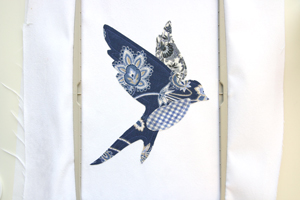
For the Sketched Swallow design, there are three pieces of applique. After all three pieces are tacked down, the machine will stop for the final thread color changes, which will stitch the inner details of your design.

Follow your thread list for the last color changes and finish out your raw edge applique piece!

Use denim fabric or other looser woven materials for a fun frayed look! To increase the homespun style, you can use your fingers to rough up the fabric more.
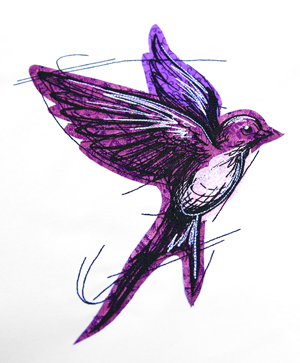
These designs look more modern and carefree as compared to traditional applique designs. The raw edge of the design is more forgiving when it comes to placing pieces, and it lets the applique fabrics fray at the edge for a fun look!
Stitch your raw edge applique designs onto apparel, decor, accessories, and more!


