Breaking out of the limitations of your hoop is always exhilarating no matter what your hoop size. If you’re working in a 4" x 4" area, designs that are split into multiple parts allow you to build bigger images in embroidery. If you already have a big hoop, you can go big and bold like never before! The tricky part is getting it all to line up perfectly. Luckily, along with some simple template techniques, this hawk design has one more trick for getting the design to come out just the way you want it ... alignment stitches!
Designs Used

So, we’re going to show you how to construct this big, bold hawk using alignment stitches to get perfect results. We stitched our hawk on a scarf, but you can put it on anything. To stitch this out as this tutorial shows it, you’ll need...
- Ascending Hawk design (we're using the 6.89" x 11.73" version for maximum effect)
- Printed templates of each of the design's three files - body, left wing, and right wing (If you don’t know how to print them, click here.)
- Sheer mesh cutaway stabilizer (such as Sulky Soft 'n Sheer or Floriani No Show Mesh) - a great match for lightweight materials and open, running stitch designs
- Temporary spray adhesive
- Fabric to embroider on (in this case, a scarf)
- Scissors, tape, and a seam ripper
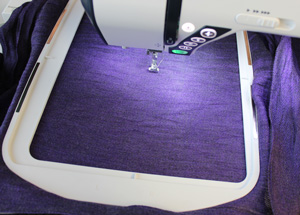
We’re going to start in the middle and work our way out. Spray a piece of sheer mesh cutaway stabilizer with temporary spray adhesive, smooth it onto the back of your fabric, hoop them up together where you want your hawk body to stitch, and load up the hawk body design on your embroidery machine
If you’re putting this on a scarf or something similar, I’d recommend finding the very middle of the scarf and centering your hawk body there, so it sits evenly while you’re wearing it.
Start your hawk body stitching...
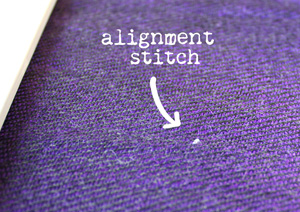
Instead of going straight into the design, your machine is going to start by stitching these tiny little alignment stitches. These are your marker points. They’ll be pretty small, and a looser stitch than normal, so they can be removed easily once we’re done.
Four of these dots will stitch on your fabric before the hawk design starts. Make sure when they stitch you can see them all, because they’re your points of reference for the future.
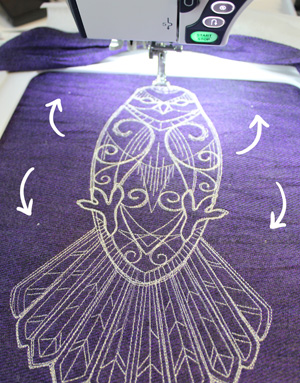
Once your dots are stitched, your machine will stitch your hawk body as usual. You can see in this photo the four marker stitches are just tiny little dots on four corners of your design.
When your hawk body is done, carefully un-hoop and trim around your stabilizer, taking care not to rip those marker stitches out by accident.

Now we need to place a wing! I’m starting on the left side.
Here’s where your printed template comes in. You’ll notice your wing template includes those dot markers. Use them to line them up on top of the stitched markers from the body.
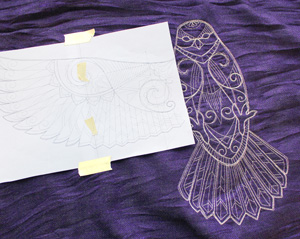
Once you’ve aligned the printed wing template dots on top of the stitched dots, tape your template in place, and carefully hoop up your fabric and sheer mesh cutaway stabilizer for the wing design. Make sure the crosshairs of your hoop align with the crosshairs on your printed template exactly. Then remove the template paper.
NOTE: Given the dimensions of the design, the hawk body will hoop vertically and the wings will hoop horizontally. Just so you don’t get confused. It allows the design to maximize the available area in most hoop sizes. Designs are oriented differently in different formats, so pay close attention to how the designs are oriented on your machine!
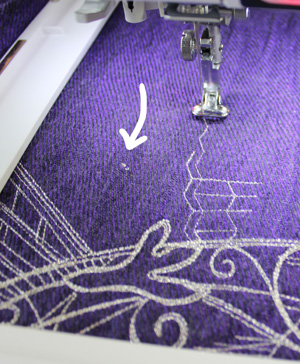
Once your fabric is under the machine, start your wing design stitching. Now, the first thing that will stitch is two alignment dots. IMPORTANT: These dots should stitch pretty much exactly in the same spot as the last dots! As you can see in the picture, the two dots stitched right next to each other. That tells you that your wing design is lined up perfectly.
If your dots DON’T line up, stop your machine right away! You now know you need to adjust your placement a bit. This is a great safeguard because none of your main design has started stitching, and so you can still go back and make your adjustments without ruining your fabric. Even if those dots stitch in the wrong place the first time, they’re designed to be removed easily, so no one will ever be able to tell!
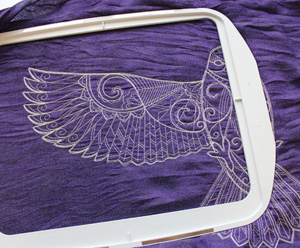
Once you’ve used your template and your alignment stitches to get perfect placement, you can let the rest of your wing stitch as normal.
When it’s done, it looks like it’s all part of one seamless design!
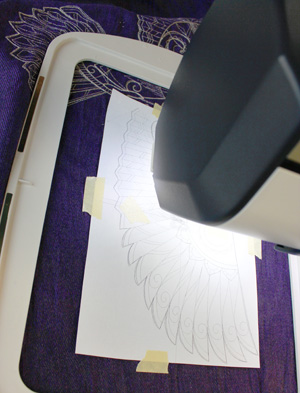
Now you just need to repeat that process on the other wing, using your templates and the alignment stitches to get your wing just where you want it.
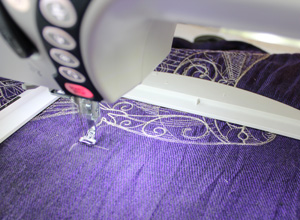
And using the magic of the alignment stitches, your wing sews in exactly the right place!
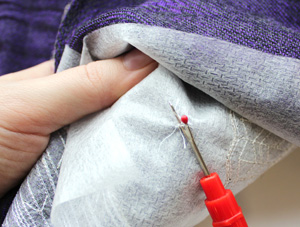
When your whole hawk is done, you can now remove those alignment stitches with a seam ripper.
Rip out the stitches from the back, and then pull them through on the front. They should leave very little trace that they were ever there.
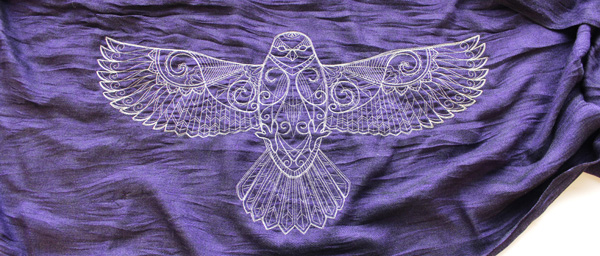
What you’re left with then is one big, beautiful, seamless design! No one will ever be able to tell this was done in multiple hoopings, because it comes out so perfectly!
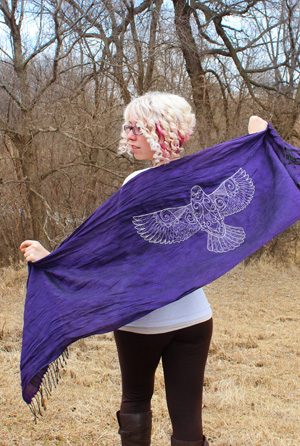
They’ll also never be able to figure out how you made such a big, beautiful design. This finished hawk (using the 6.89" x 11.73" design) has a massive wingspan of nearly two feet!

It lets you go big and bold like never before, in a way that lets you control how your design comes together for a perfect, polished result.
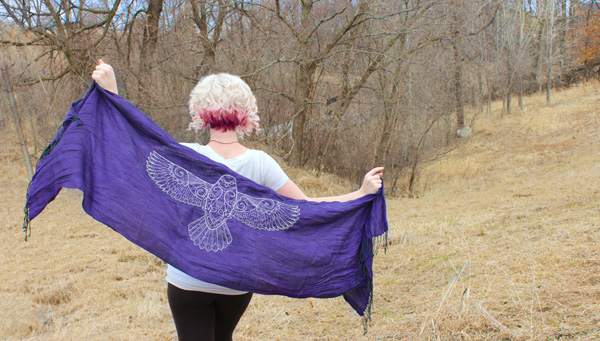
So break free, spread your wings, and think bigger than your hoop. With some tips and tricks and useful stitches, you can create majestic embroidery that will inspire all kinds of projects!


