This project shows you how to assemble 3D slotted lace ornaments. Before beginning this project, you will first need to stitch the freestanding lace pieces. Learn more about how to create freestanding lace using only water-soluble stabilizer and thread, then proceed to follow along with the step-by-step tutorial below.
Supplies
To assemble a 3D slotted lace design you will need:
- Three lace snowflake pieces
- A small needle nose pliers
- A cutter
- Some thin copper chain
- Matching metallic thread (probably what you used to stitch out your lace)
- Needle
- Dangly charms (technical term)
- Jump rings
- Ribbon
- Scissors (who didn’t show up in time for the group photo)
Designs Used
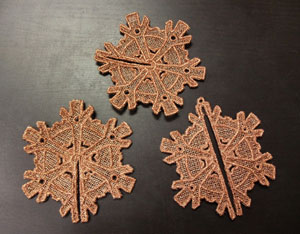
If you haven't already, stitch out the three freestanding lace pieces needed to construct this type of machine embroidery design. If needed, we have a great tutorial on how to stitch freestanding lace using only water-soluble stabilizer and thread.
For 3D slotted lace ornaments, you should have two pieces that are open halfway down that are exactly the same, and one that’s open nearly all the way down all by its lonesome. You’ll notice the one with the big gash has a distinct loop at the top. This will be the piece used for hanging.
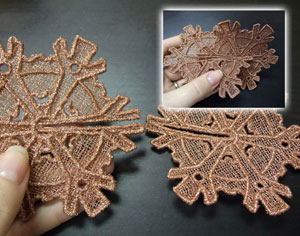
Start by taking the two identical pieces and have them positioned so the breaks line up. Slot one piece into the other until they’ve both reached the center of the breaks. When properly aligned, they should be flush with one another at the top and bottom.
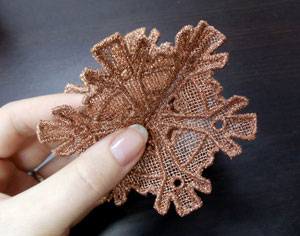
This is what your 3D slotted ornament will look like with just two layers.
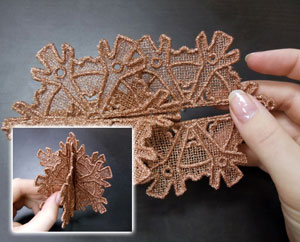
With those two aligned, you can then slot the third piece over the other two, like shown. It doesn’t matter which way you add the third piece. Whichever end has the loop will become the top.
As you can see, you now have a slightly loose but dimensional ornament!
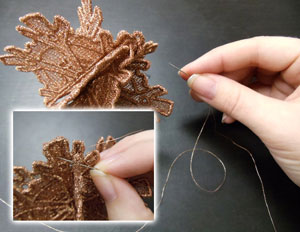
The ornament holds together pretty well on its own, but still not quite well enough to hang without a little help.
Grab your needle and matching thread, and do a light tack stitch through the ends of the bottom pieces, stitching them all to the center.
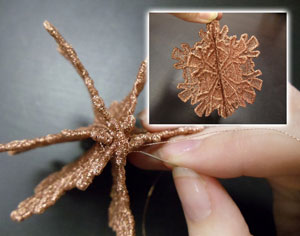
Do the same for the top, stitching once through each side of the ornament right at the top. This will keep your pieces snug and upright, and will make sure your ornament doesn’t slip apart while hanging out on your tree. Tie off the ends and snip off the extra.
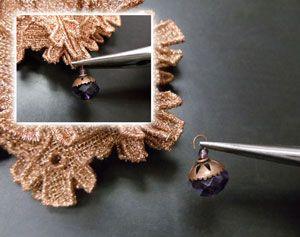
Looking for even more dimension and detail? You can also add your own "bling" like we did. We started by adding a dangling centerpiece using pliers to open up the hook, and looped it through the open lace at the bottom of the oranment. Carefully use the pliers to close the loop again.
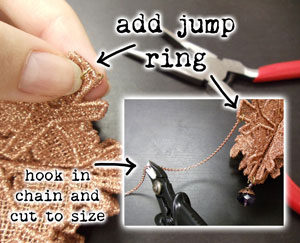
We also decided to add a few links of chain. To do so, find one of the bottom corner edges of your ornament, and slip a jump ring through it. Hook one end of a chain on, and close the ring. Then, decide how long you want your chain to loop, and snip it with the little cutter accordingly.
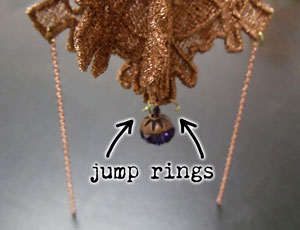
Do this on both sides if you prefer. We let both sides dangle down because it’s really easy to tell if you have an even length on both. When you’re happy with the lengths, add two more jump rings around either side of your charm.

To achieve this look, attach the ends of the chains to the rings, and close them up like so.
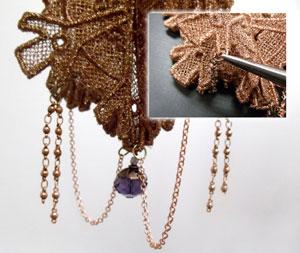
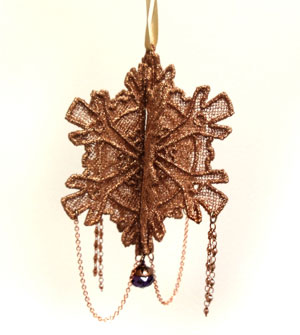
Add as many chains and embellishments as you wish - there are no rules!
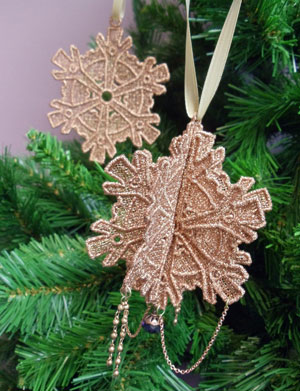
Finally snip a length of ribbon, loop it through the top, and tie a knot to make your ornament ready for hanging!


