Add unique character to your jackets, shoes, accessories, and more by turning your favorite embroidery designs into one-of-a-kind iron-on patches!
This tutorial will walk you through the simple steps needed to create your own embellishments and attach them to your finished piece.
Get close to the action -- check out the Embroidering Patches video to see how it's done!
Supplies & Materials:
- Scissors
- Fabric tac glue
- Hot iron
- An item to patch up! Shoes, jackets, denim, purses, bags, etc.
- Medium weight cutaway stabilizer
- Temporary spray adhesive
- Sturdy fabric, such as twill or canvas
- Fusible web (iron-on)
The designs used in this tutorial include:
Begin by stitching your embroidery design! We recommend using a sturdy fabric, such as canvas or twill, paired with a medium weight cutaway stabilizer. Adhere the stabilizer to the back of your fabric with temporary spray adhesive and hoop both layers taut for best results.
For this example, I chose the By Any Other Name Tattoo design , updated with bright, poppy colors to match the peach-toned shoes I want to put the patch on.

Next, carefully trim the cutaway stabilizer away from the back of the embroidered design. The closer the better, so it won't show on the edges of your patch.

Roughly cut the fabric around your embroidery and place it onto your fusible web. Make sure to follow the instructions provided on the packaging for your specific webbing.

The brand of fusible web I used required me to iron the embroidered piece onto the web. Use a scrap cloth in between the iron and embroidery to ensure you don't mark the fabric or get any gunk onto the iron.

Next, carefully cut a border around your embroidery design. Remember; slow and steady wins the race! Take your time with the contours of the design so you get a better finished product.

Remove the backing from your cut patch piece.

Place your patch onto your project. At this point, I am free to move the patch around because it isn't permanently adhered to my project surface yet.

Finally, use a rolled up towel inside your shoe and a scrap piece of fabric in between the iron and the surface you are heating to permanently attach the patch to your project. If you are adhering your patch to shoes, make sure to avoid heating the rubber sole of the shoe.
Make sure to check the fabric type you intend to iron your patch onto -- some synthetic fabrics will melt when exposed to high heat, which you'll want to avoid. Also, pay attention to the instructions on your iron-on webbing.

Use fabric tack along the edges of the patch to ensure a secure hold! Let the project set completely (overnight) before moving on to the next step.

For a fail-safe approach to keeping your patches on your garments, we recommend stitching around the edge of your patch either with a zigzag stitch or straight stitch.

So whether you want to decorate your favorite pair of kicks...

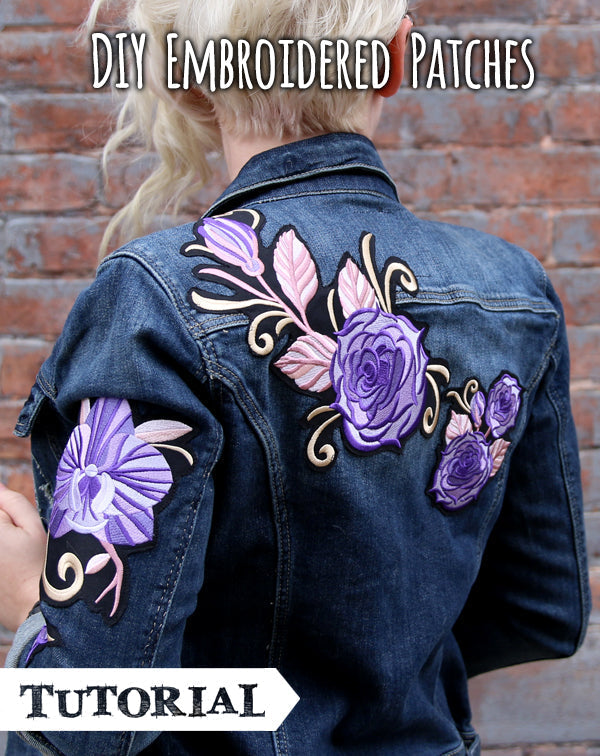
... or add flair to your best jacket, you're covered -- in patches that is!

Add your personality to your garments -- there's no wrong way to do it.
