Embellish your most-loved T-shirts with unique embroidery designs that reflect your style! This quick tutorial will show you how to get the perfect placement in a couple easy steps. Get up close to the action by checking out the accompanying Embroidering on T-shirts video to see how it's done.
Supplies
To craft your embroidered tee, you will need:
- Your favorite embroidery design (We used the 5" x 7" version of Roam Free)
- Sheer cutaway stabilizer, such as Sulky Soft 'n Sheer or Floriani No Show Mesh
- Temporary spray adhesive
- Scissors
- Air erase fabric marker
- Printed templates of your design for placement
Designs Used
1
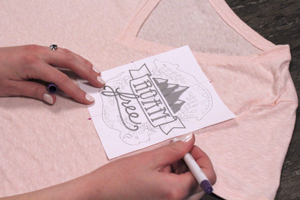
Begin by deciding where your design should go on your garment! Using printed templates of your design will make it easy to map out exactly where your embroidery will go. (Here's more on how to print templates.)
Use an air erase fabric pen to mark the center and crosshair points of the design template onto the shirt. You will need these markings to help line up with the crosshairs on your embroidery hoop.
2
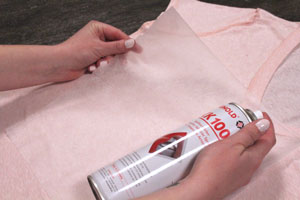
Use temporary spray adhesive to adhere your sheer cutaway stabilizer to the back of the fabric area you intend to embroider.
3

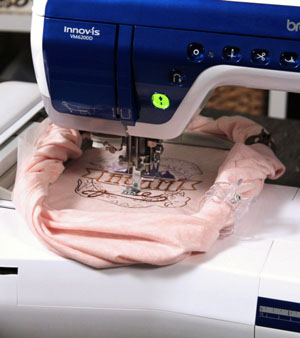
Hoop both fabric and stabilizer together, taut in the hoop to prevent shifting and gapping while your design stitches.
Make sure to completely pull back the shirt from underneath the hoop. Use hair clips around the edge of the hoop to help prevent excess fabric from being caught underneath the needle.
4
Embroider your design!
5
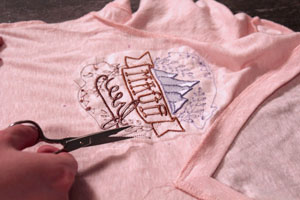
Next, carefully trim the excess stabilizer from the back of the embroidery design.
6
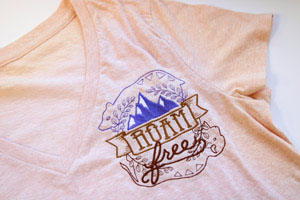
You're left with a stunning new T-shirt, complete with a design that expresses the inner you!
7
Check out the Embroidering on T-shirts video for a closer look at how to make a statement on your own favorite tee!


