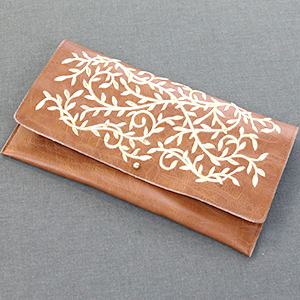
Venture outside the hoop with this beautiful yet simple faux leather clutch pattern! Chose your favorite color, texture, and thickness of faux leather, then pick any embroidery design that suits your fancy. We'll show you how to make your own with step-by-step instructions below!
Supplies
To stitch your leather clutch, you'll need:
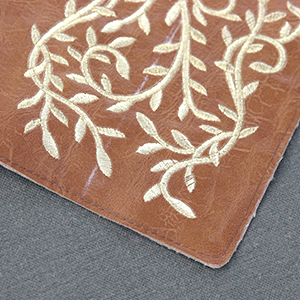
- Embroidery design of your choice (up to 9.85" wide x 4.7" tall). We're using the Glistening Botanical Border
- Printed clutch sewing pattern.
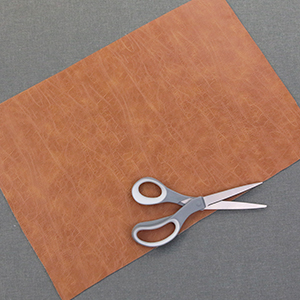
- 1/3 yard of faux leather, pleather, leatherette, vinyl or soft leather
- Embroidery thread
- Medium-weight cutaway stabilizer
- Temporary spray adhesive (such as Gunold KK100)
- Scissors
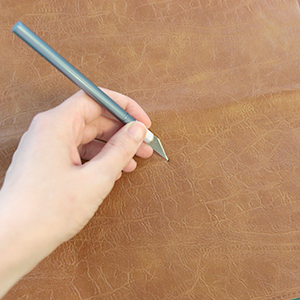
- Chalk or leather marking pen
- Button stud
- Leather punch
- Craft knife
- Rubber mallet
- Cutting mat
- Small flat head screwdriver
- Bone folder
- Quilting ruler
- Clips
- All purpose sewing threads
- Hand sewing needle
- Seam ripper
Designs Used
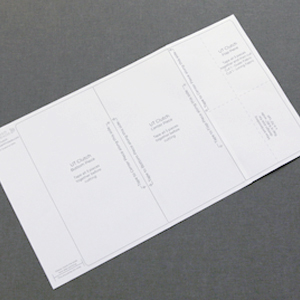
The clutch will print out onto three pieces of paper. Cut out the three pattern pieces, and tape together following the text and arrows on the pieces.
On what will be the flap of the clutch, there is a placement guide which looks like a crosshairs. This is what you will line your embroidery design up with if you want it centered on the flap. This piece also lists the maximum size that the embroidery design can be and still fit on the clutch.
Make sure when printing to scale the pages to 100%. Click the link above to print the clutch pattern.
Since it is best to embroider the fabric before cutting out the pattern, set the pattern aside for now. Embroidery can stretch or pull fabric. By waiting to cut the pattern pieces, the final shape of your project will not be affected.
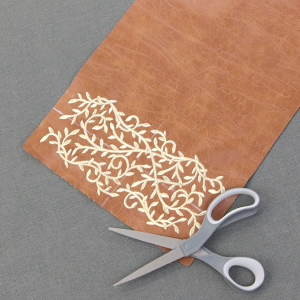
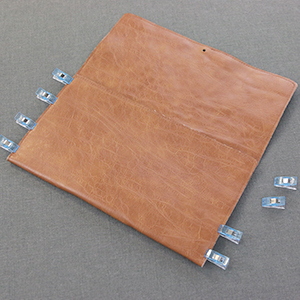
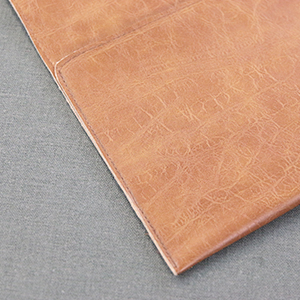
Start by cutting out a 12" x 18" piece of faux leather. This piece will be the outer embroidered fabric and will seen on the outside of the clutch. This piece is cut to be 2" bigger than the pattern both in height and width. Cutting your fabric to this size will allow some flexibility in case any shifting occurs.

This clutch will fit an embroidery design up to 9.85" wide x 4.7" tall.
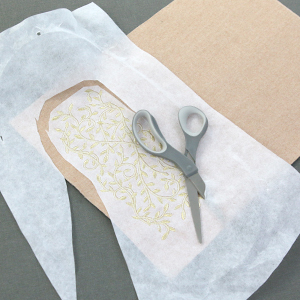
A template (also called a printout) of a design is an excellent tool to help with placement. Print a template of your chosen design using embroidery software.
Cut around the embroidery template and place it on one end of the fabric so the bottom of the design is closest to the edge. Make sure to center it as best you can. Lay the pattern next to the fabric and match up the dotted lines on the pattern with the markings on the template. Use these markings on the pattern to make sure the embroidery design is not too close to the edge of the fabric. If the embroidery is too close to the edge, the pattern will no longer fit on the fabric piece when lined up with the embroidery. Once the template is placed correctly, mark all four vertical and horizontal axis.
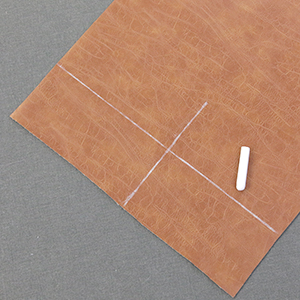
Extend the axis lines using a ruler and your temporary marking tool. This will make it easier to hoop accurately, center the embroidery design, and position the pattern later.
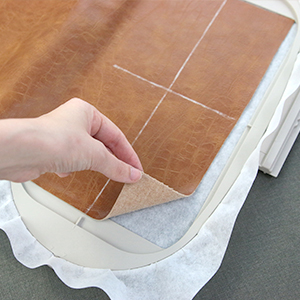
Most faux leathers, leathers, and similar materials will get permanent marks if hooped, so instead we will float the fabric piece. To do this, hoop a piece of medium-weight cutaway stabilizer by itself. Make sure it is hooped tight with no wrinkles.
Spray the backside of the faux leather, behind the drawn crosshairs only, with temporary adhesive. Then smooth it on top of the stabilizer, matching up the drawn cross hairs on the faux leather with the marks on the embroidery hoop.

Pins can help keep the fabric in place as you baste it onto the stabilizer. For best results, pin only under where the design will embroider. This way the embroidery will hide any holes left by pins.
Use a hand sewing needle and baste around all four edges of the hoop, securing the fabric down onto the stabilizer. Make sure to smooth the fabric as you go to prevent any wrinkles from forming. Be careful to not wipe off the cross hairs as you sew.

If embroidering a heavier design, it is best to baste a few stitches directly under the fills of the design. This will prevent shifting while embroidering. Use the template to decide where to sew and match your thread to the embroidery or the fabric.
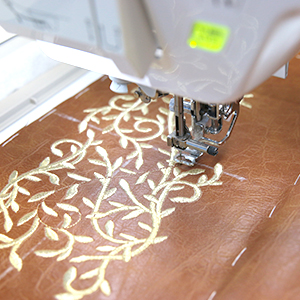
Attach the hoop onto the machine and load the embroidery file. Use a 75/11 sharp sewing needle as it has a finer point, and will make smaller perforations in the stabilizer and faux leather. Follow the color change sheet and embroider the design.
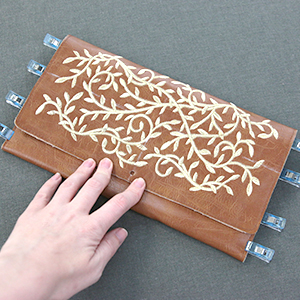
When the design has finished sewing, remove the hoop from the machine. Before you unhoop the design, seam rip out all the basting stitches that you can still see.
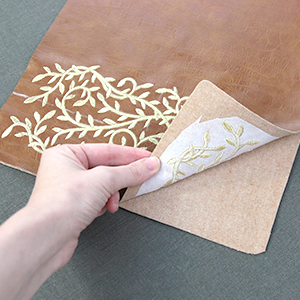
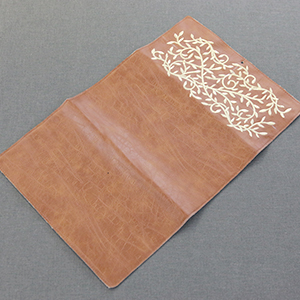
After you have removed the basting stitches, turn over the faux leather, and trim away the excess stabilizer from around the design.
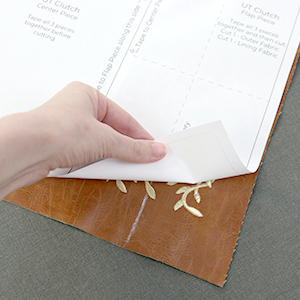
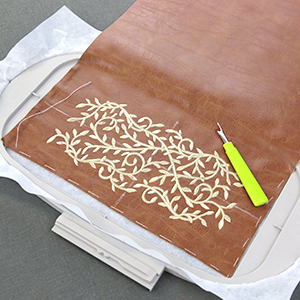
Spray the back side of the paper pattern piece with temporary spray adhesive. Match up the dotted lines on the pattern piece with the markings drawn with your temporary marking tool. Smooth the pattern onto the right side of the fabric over the embroidery.
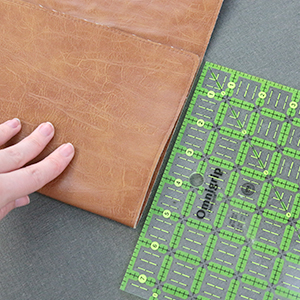
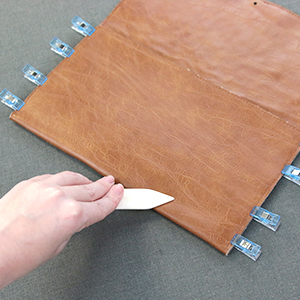
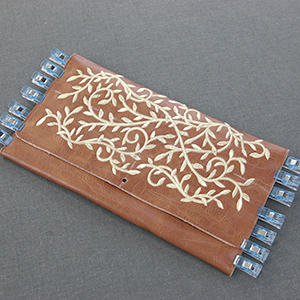
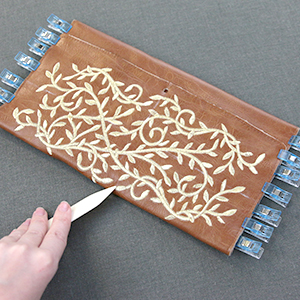
Carefully cut out the pattern along the solid black lines. Do not cut along the lines that you matched up to connect the three pattern pieces. The finished cutting should be one single piece.
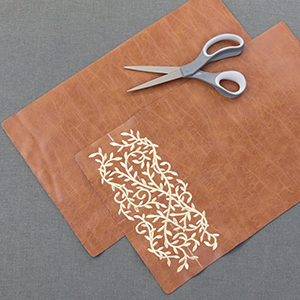
Use the pattern again to cut out another piece of faux leather. This will be the lining of the clutch and can either be cut out of the same material or another piece of faux leather in an accenting color. Do not cut the lining out thinner fabrics like cotton or linen. The lining material is needed to add some structure to the clutch.
Spray the wrong side of the outer fabric piece with temporary spray adhesive. With wrong sides together, lay the outer and lining pieces on top of one another, matching up the edges on all sides. Carefully press them together to remove any wrinkles while keeping the edges lined up.
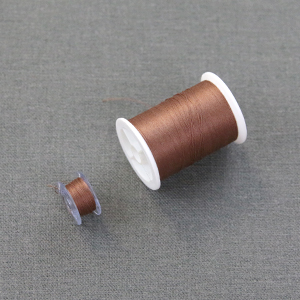
As all the bobbin stitching from here on out will be seen from both sides, wind a matching bobbin.
With 1/8" seam allowance, sew around the four outer edges of the clutch. This will permanently bind the two fabric pieces together.
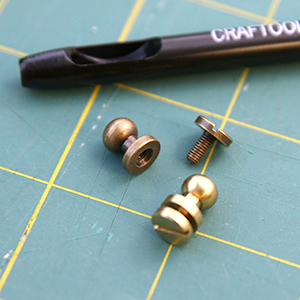
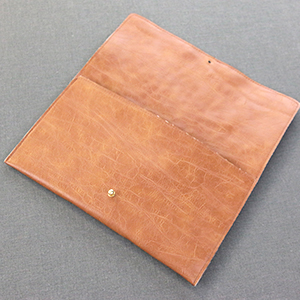
For our clasp, we will be using a button stud. It is a simple closure that works well on leather purses. It has two pieces. The front piece has the ball and acts as the closure. The back piece screws into the front piece from the opposite side of the leather and holds the stud in place. These can be purchased online or in some leather and crafting stores.
Make sure to get an appropriately sized hole punch to go along with the button stud. Some will use just a round punch while others will use a round punch which a slit cut below it to allow the hole to be smaller and hold the button stud more securely.
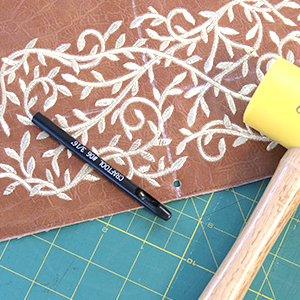
For best results, test the hole punch on a scrap of the material being used to make sure it is the correct size. The thickness and stretch of the faux leather can effect what hole size is needed.
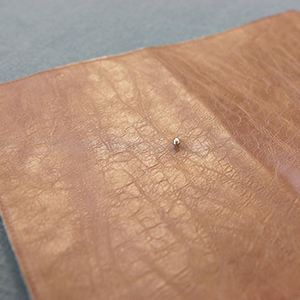
Once tested, use the punch and a mallet to punch the hole in the bottom center of the flap. Punching on the drawn axis line will ensure it is centered. Make sure not to punch through the embroidery or the sewn seam.
After the hole is punched, flip the clutch over so the lining is facing up. With lining sides together, fold the bottom edge (the short edge, opposite from the embroidery) up 5 and 3/4 inches.
To help keep the bottom folded and in the correct place, use sewing clips along both sides.
Press the fold very well with a bone folder. If you do not have a bone folder you can use another hard, smooth object that will not leave marks on the leather.
Then fold the flap down over the folded bottom section. If you have folded it correctly, embroidery should be showing.
Clip along both sides to hold the flap in place as well.
Press this fold with a bone folder as well. Be careful to not rub over the embroidery.
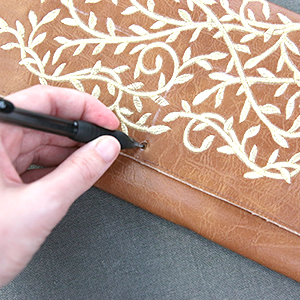
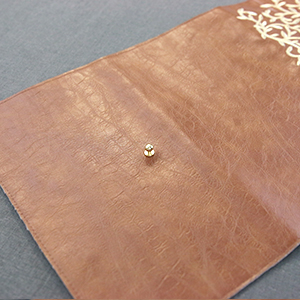
Hold the folded clutch firmly in place and use a pen to mark a dot through the hole that was cut for the button stud. This will mark where the button stud needs to be place on the front of the clutch.
Remove the clips, and unfold the clutch. For the next step, the clutch will need to be unfolded to be sure that the craft knife doesn't cut into the back of the clutch.
Using a craft knife and cutting mat, cut a very small "x" over the dot that was just made. This will create a small hole for the back piece of the button stud. Make sure to cut through both the outer and lining fabric.
Then push the screw portion of the button stud through the hole so the flat, round back rests against the lining fabric. The shaft of the screw should be poking out on the outer side of the clutch.
Next, screw the front and back of the button stud together. The ball of the button stud needs to be on the same side as the embroidery.
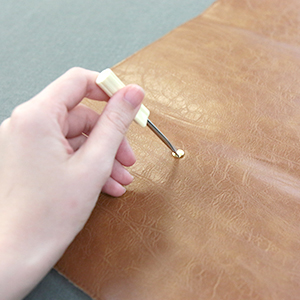
Tighten the back of the button stud with a flat head screw driver. Hold the front of the stud securely while tightening.
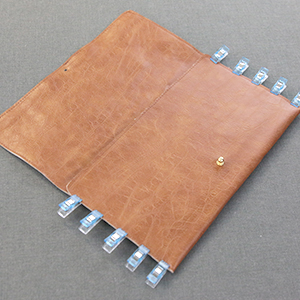
Fold up the bottom edge of the clutch along the creased fold that was made earlier. This will be the fold that was 5 and 3/4 inches. Clip it in place again along both sides.

Before sewing, once again use a matching bobbin. This way the stitching will look nice from both sides.
Match up the edges, and sew a 1/8" seam along one side of the fold only. Do not sew up onto the flap again.
You will be sewing right on top of the seam that was sewn earlier. Clips can be used to hold the fold together if desired, but do not use sewing pins as they will leave holes in the leather. A small amount of temporary adhesive can also be sprayed on the lining side just along the edge to hold the fold.
Repeat to sew down the other side of the fold with a 1/8" seam.
After sewing, clean off any remaining markings left by the chalk or leather marking pen. Make sure to follow package directions and do not use anything that will ruin the material.


