Learn how easy it is to make your own machine embroidered and lined zipper pouch from scratch! It's a project so fast and simple you'll be making them for every purpose and occasion under the sun.
Supplies
- One piece of outer fabric (front): 12" x 12"
- One piece of outer fabric (back): 7" x 9"
- Two pieces of lining fabric (front and back): 7" x 9"
- 9" Zipper
- Temporary spray adhesive (such as Gunold KK100)
Tools
- Embroidery machine
- Scissors
- Thread and needle for hand stitching, if desired
Everyone loves a good zipper pouch! Whether your a seasoned sewist and machine embroiderer, or new to the craft, zipper pouches offer a fun and simple project to help you practice and hone your skills.
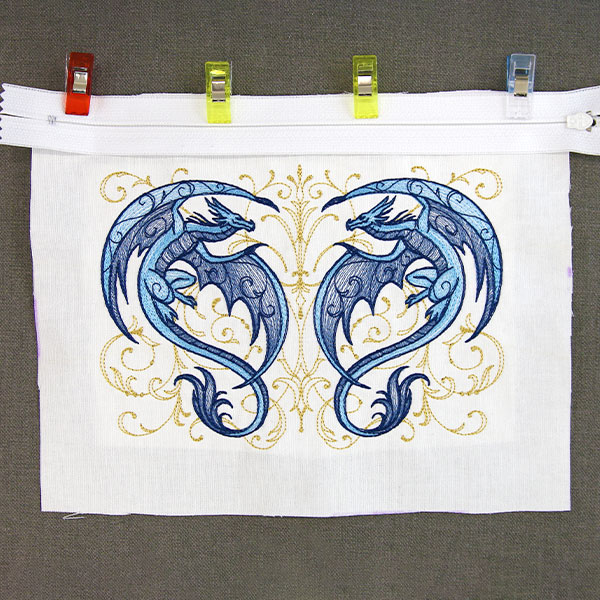
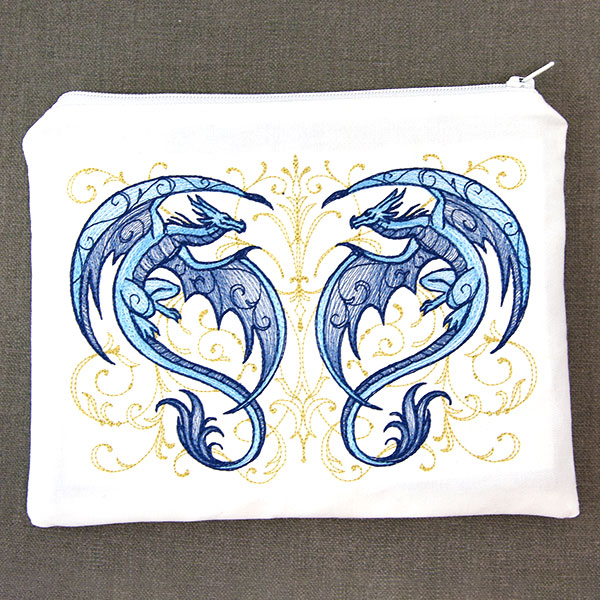
This zipper pouch tutorial requires no pattern, and can be catered to any size that you prefer! We made ours to fit a 5" x 7" machine embroidery design, but feel free to adjust your measurements to fit your embroidery hoop and your personal needs.

Cut one piece of exterior fabric and two pieces of lining fabric, all size 7" x 9". Put these pieces to the side.
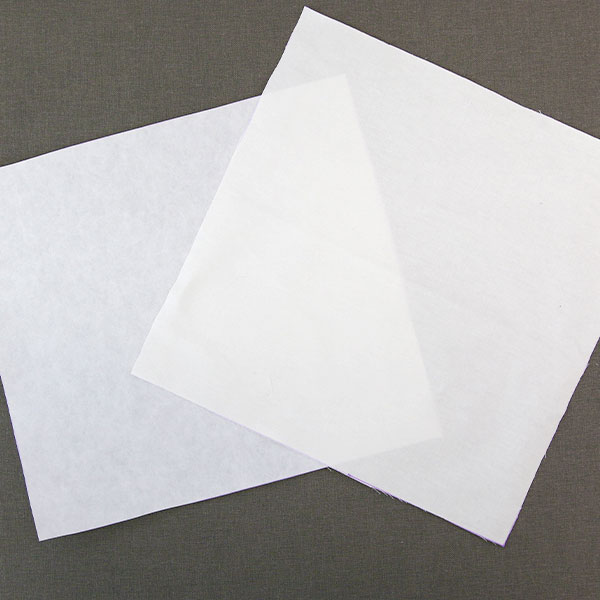
Cut out one 12" x 12" piece of exterior fabric for the front of the pouch and one piece of 12" x 12" cutaway stabilizer. A larger piece of front exterior fabric can be used if desired. We recommend this size because it is typically large enough to fit a 5" x 7" hoop comfortably and will be trimmed down after embroidering the design.
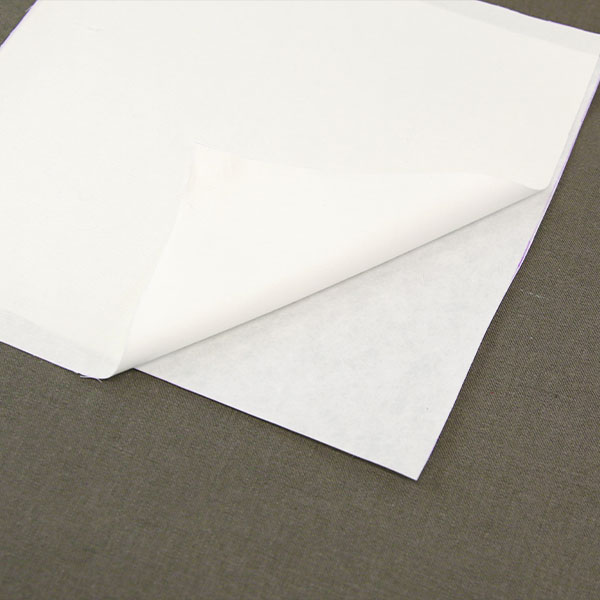
Spray one side of a piece of cutaway stabilizer with temporary adhesive. Smooth the stabilizer onto the wrong side of the front exterior fabric piece.
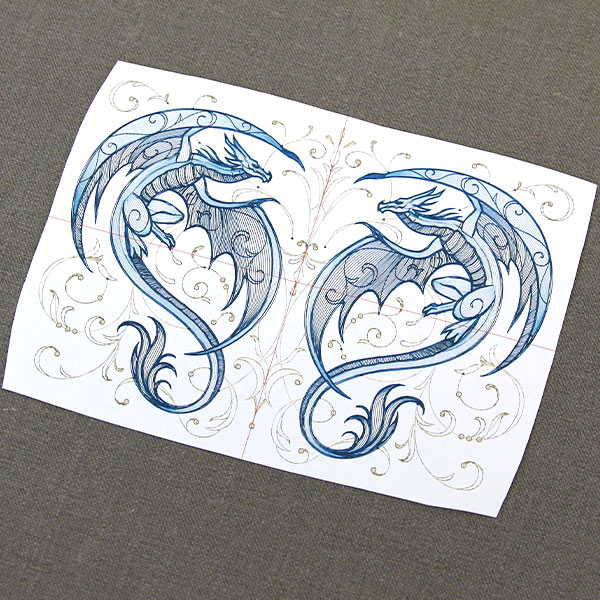
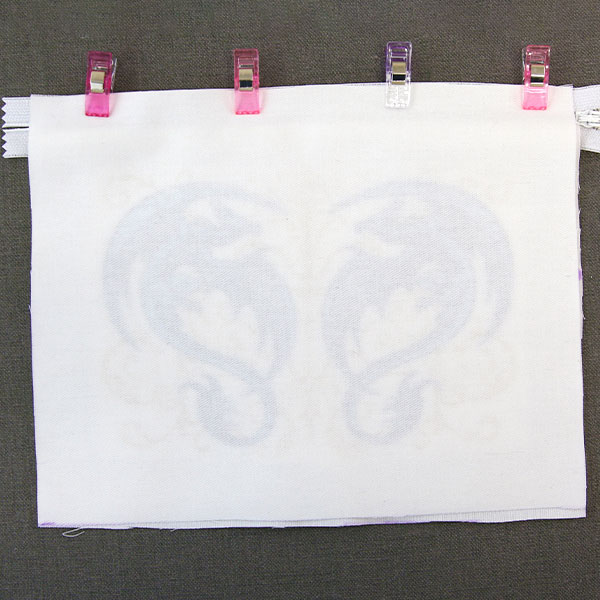
A template (also called a print out) of a design is an excellent tool to help with placement and accurately measuring the design after it's sewn out.
Print off a template of your design using embroidery software (you can skip this step if you do not have embroidery software). Then cut out the template close to the design. Cutting it out this closely will make placement easier.
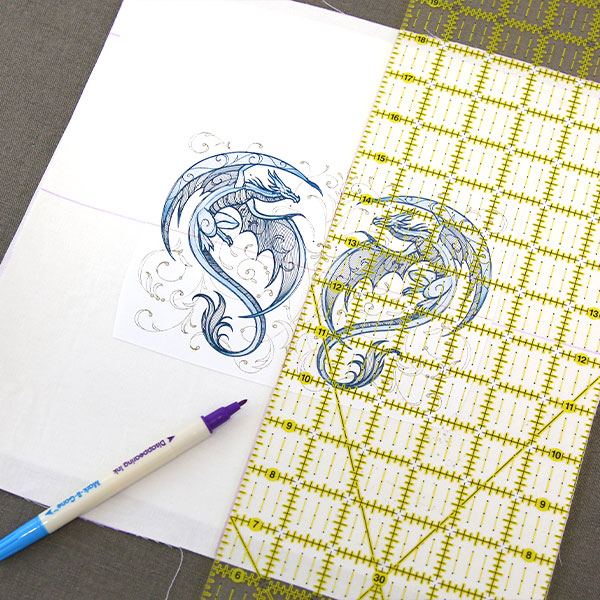
Extend the axis lines using a ruler and air-erase pen to make it easier to hoop accurately.
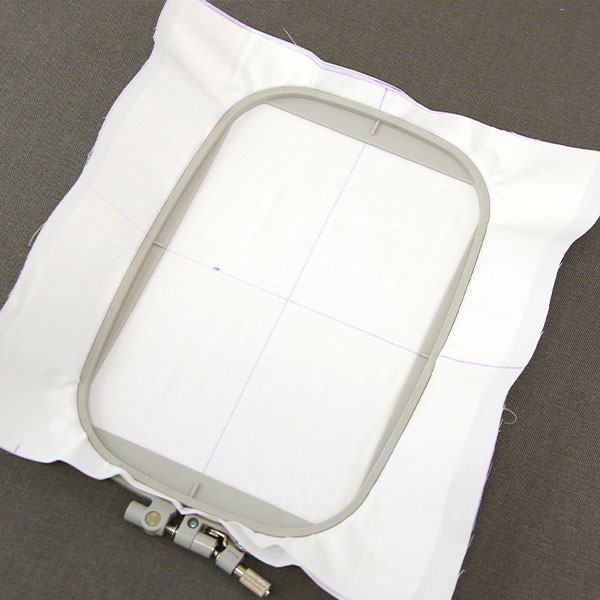
Then hoop the fabric and stabilizer together so that they are drum tight, lining up the drawn axis lines with the marks on the hoop.
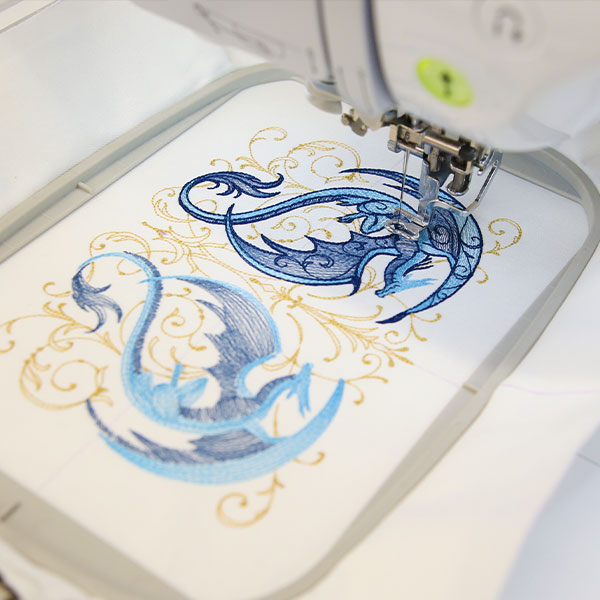
Load the embroidery file onto the machine and secure the hoop in place. Then move the needle directly over the marked center point on the fabric. Follow the color change sheet and embroider the design.
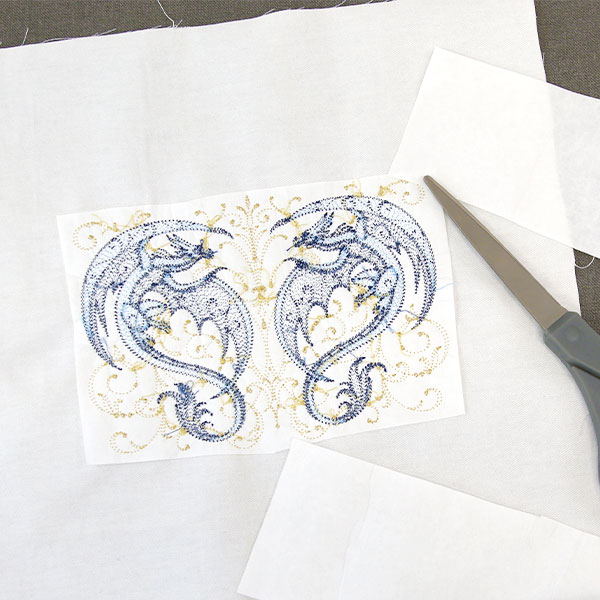
Once the embroidery has finished sewing, unhoop the design, and trim away the excess stabilizer from around the design.
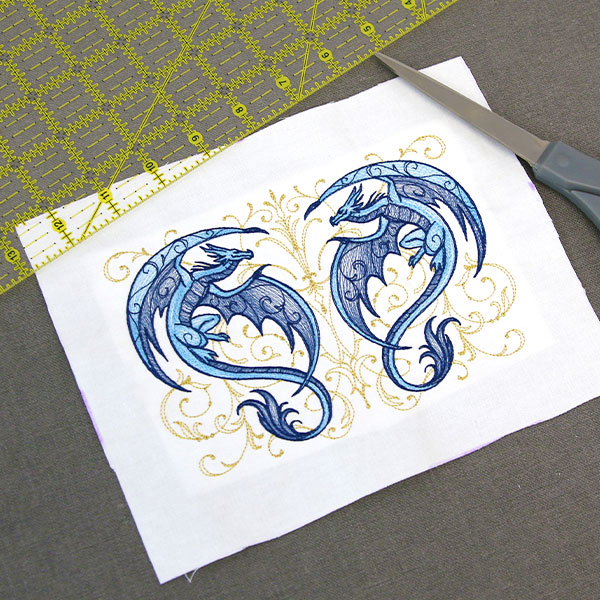
Trim the front exterior fabric piece to 7" x 9".
Now you will put your zipper pouch together.
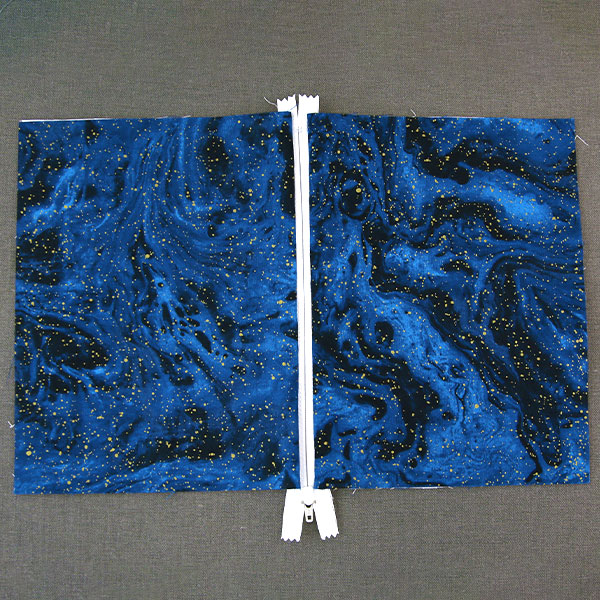
Start by taking the front piece of outer fabric (the one that you just embroidered). Line up the top long edge with the edge of the zipper. Make sure the right side of the fabric and the right side of the zipper are together.
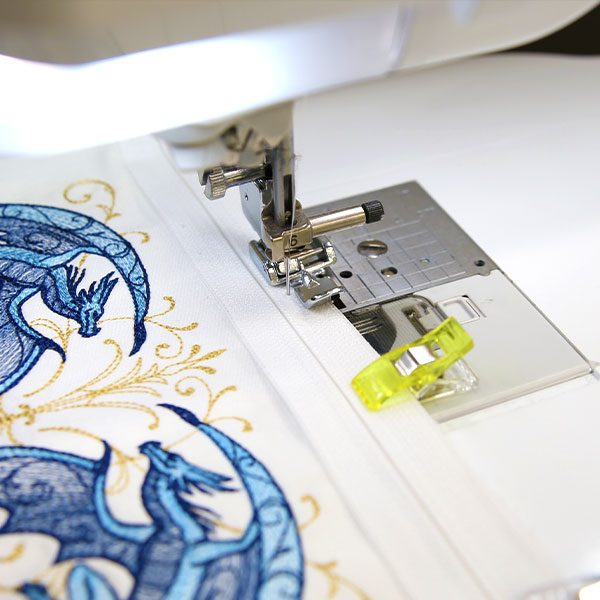
Stitch the fabric and zipper together using a zipper foot leaving about 1/4" seam allowance.
Repeat this step with the back outer fabric. Place the right side of the zipper and front fabric piece together with the right side of the back fabric piece. Stitch the top long edge of the back fabric to the edge of the zipper.
Next, add the lining pieces.
On the back side of the zipper, line up the edge of the zipper with the long edge of one of your lining fabric pieces. The right side of your lining fabric will be against the wrong side of the zipper. Stitch this fabric to the zipper using the zipper foot. Repeat this process, lining up the right side of the other lining piece of fabric with the wrong side of the zipper.
When laid open, you should have the outer fabric, zipper, and lining fabric layered together in that order with the right-side of the lining fabric facing up. The right-side of your front and back frabric pieces and zipper should be facing down toward the table.
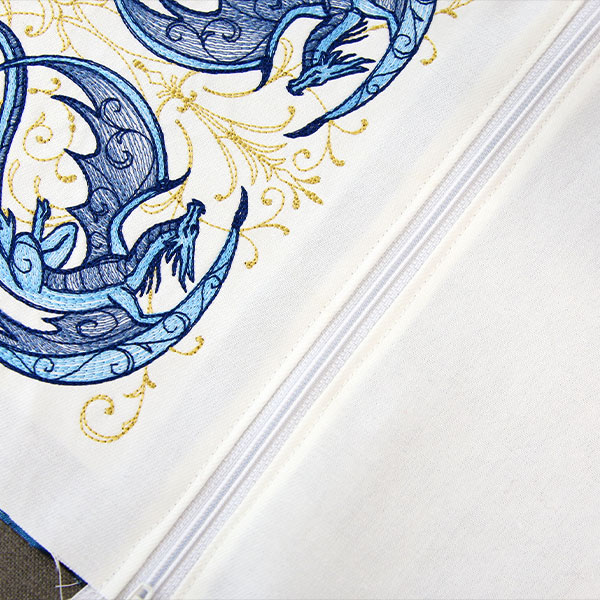
Topstitch along both sides of the zipper, getting close to the edge of the fabric.
Unzip your zipper about halfway open (this is important so that your zipper pouch can be turned after sewing). Then fold your pouch so that the outer fabric pieces have their right-sides together, and the lining fabric pieces have their right sides together. The teeth of your zipper should be facing your lining fabric.
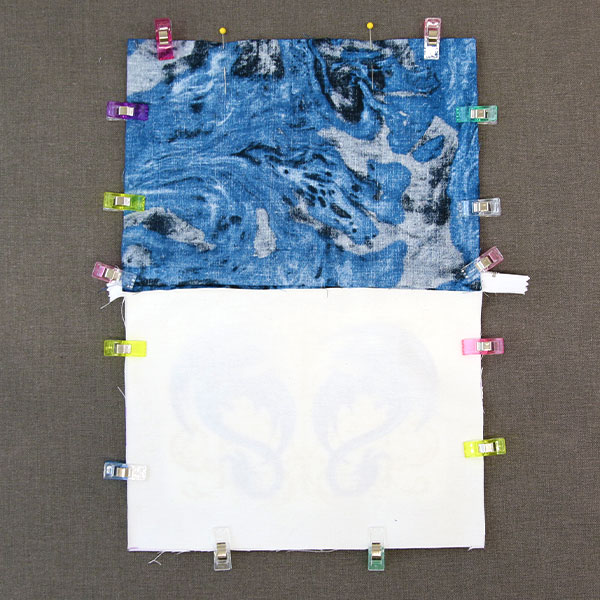
Pin or use craft clips along the entire outside edge. Stitch around the pinned area with a 1/2" seam allowance, leaving about a 4" opening on the bottom edge of the lining fabric. The opening we are leaving is between the two pins in our photo. This will leave a hole that will allow the fabrics to be pulled through to the right side.
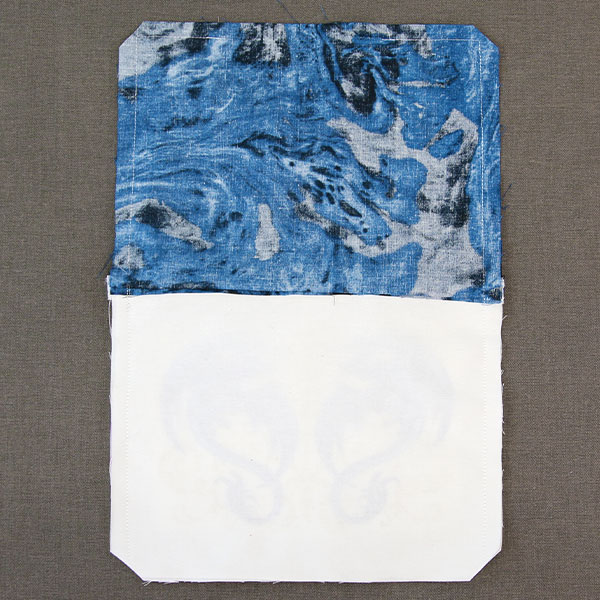
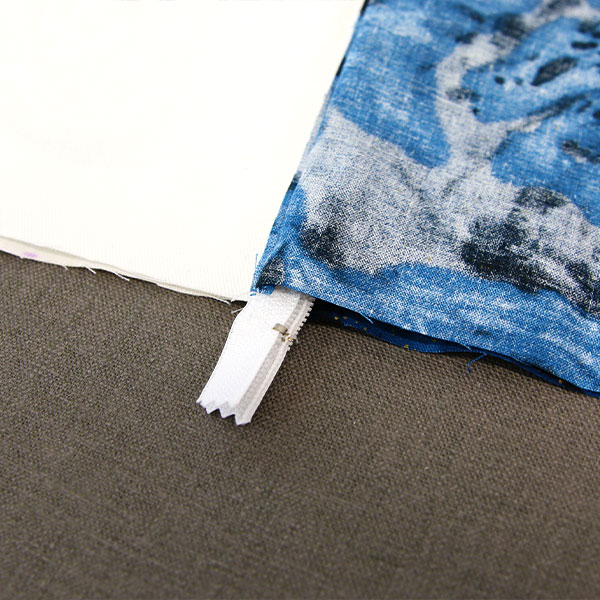
Clip the corners of the fabrics, and any excess ends of the zipper that are hanging past the edge of the fabric. This will remove any unwanted bulk from your finished zipper pouch. When tirmming, be sure not to cut the stitching.
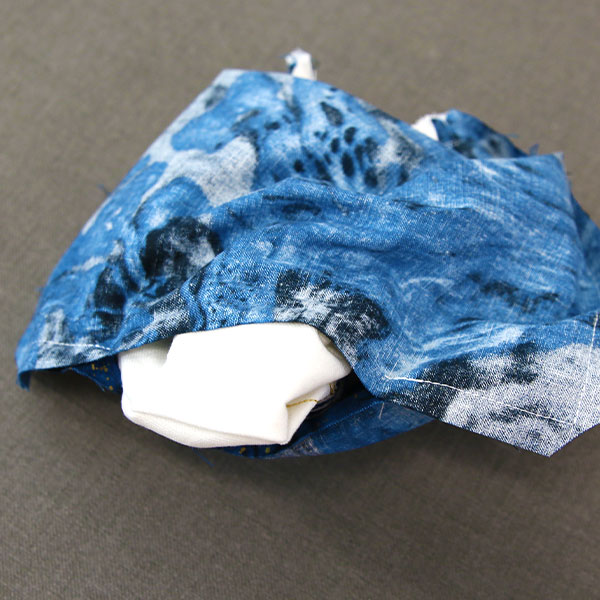
Once your zipper pouch is sewn, reach through the four-inch space that was left in the bottom of the lining, and pull the exterior fabric pieces through the hole. This should turn your zipper pouch right-side out.
Once the fabric has been turned right-side out, push out the corners so they are as sharp as possible. Do this for both the exterior pieces and the lining pieces.

Machine sew or hand stitch the hole in the bottom of the lining closed, turning the raw edges inward.
From there you will push the lining fabric through the zipper opening, pressing the lining corners into the corners of the exterior pieces.
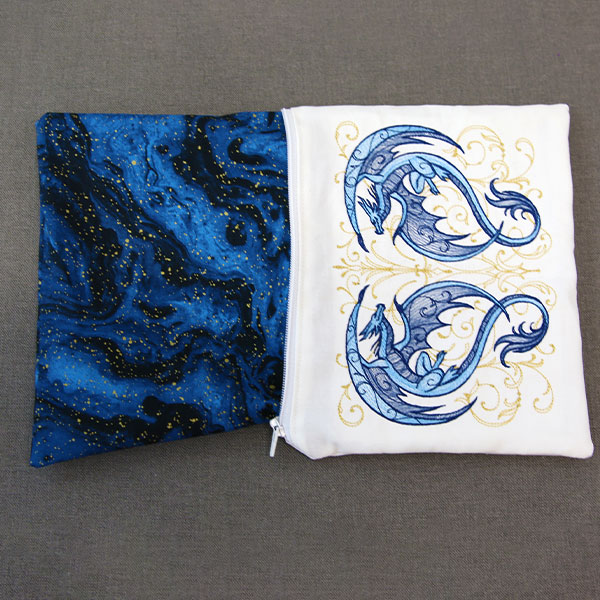
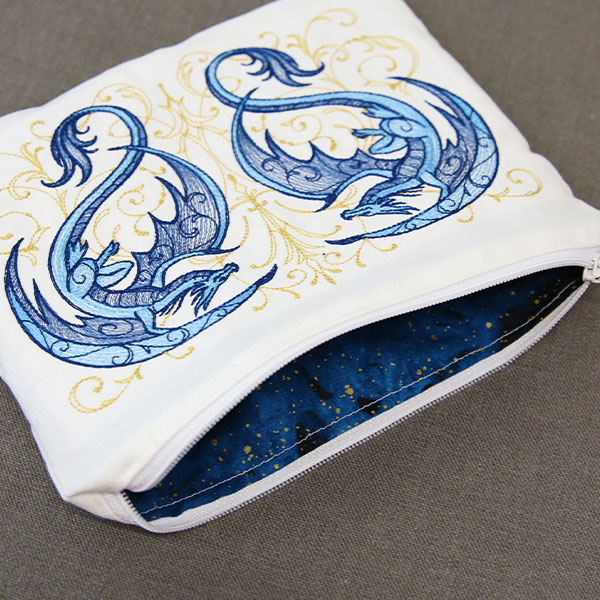
And your zipper pouch is now complete!
Use your new zipper pouch as a pencil case, a travel makeup bag, or a place to hold odds and ends for your crafting adventures!


