Give your decor a handcrafted touch with delicate lace candle wraps! Freestanding lace designs are specially digitized to stitch on water-soluble stabilizer, and hold together after the stabilizer is washed away. Adapt your candle wraps to suit a wide variety of candle sizes. We'll show you how!
Supplies
To create your lace candle wrap, you'll need:
- Lace candle wrap design -- we're stitching the Lush Ferns Candle Wrap
- Embroidery thread - some designs use cotton thread, and others use rayon thread
- Heavy water-soluble stabilizer (such as Vilene or Sulky Ultra Solvy)
- Hand sewing needle
- Scissors
- Battery powered candle
Designs Used
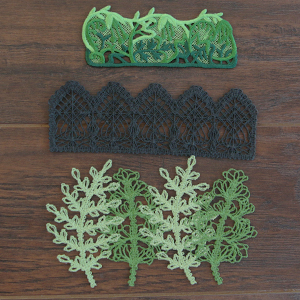
Freestanding lace candle wraps have been specially digitized for water-soluble stabilizer. After the stabilizer is removed, beautiful embroidery remains.
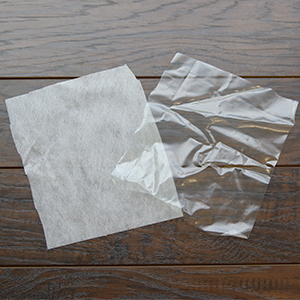
There are a couple of different kinds of heavy water-soluble stabilizer. One is clear and plastic, and that brand is Sulky Ultra Solvy. The other is soft and fibrous, called Vilene. Both will work very well. Vilene is used in this demonstration.
Use a size 11 or 75/11 sharp sewing needle. A sharp sewing needle has a smaller, finer point than an embroidery needle. That means it will make smaller holes in the stabilizer.
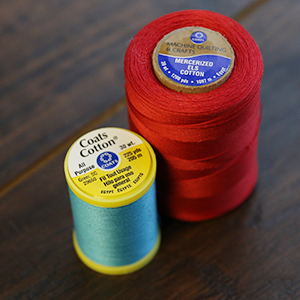
Some designs have been digitized for 30-35 weight cotton thread. It can be found under different names such as mercerized cotton or all-purpose cotton.
Check the color change sheet for your lace candle wrap design to confirm what type of thread you should use.
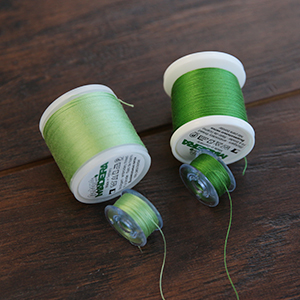
As the freestanding lace will be seen from both sides, wind a bobbin to match every thread color used in the design.
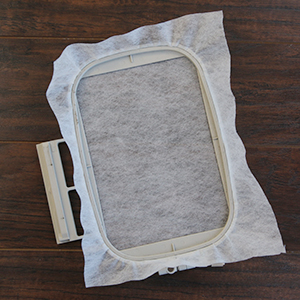
Hoop the stabilizer firmly. Make sure it is nice and tight with no wrinkles.
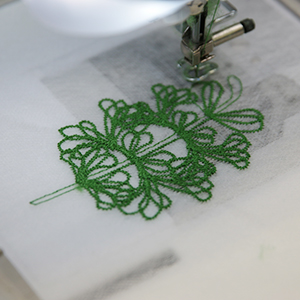
Attach the hoop to the machine and load the embroidery file. Follow the color change sheet, and embroider the first color of the design using a matching bobbin.
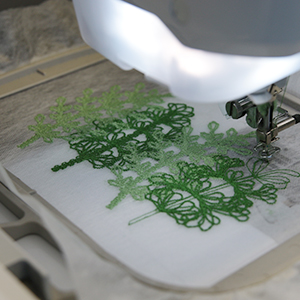
If the design has more than one thread color, change the bobbin out to match the next thread color, and continue to embroider the design.
Watch the color change sheet carefully, and make sure to match the bobbin color to every thread color used in the embroidery.
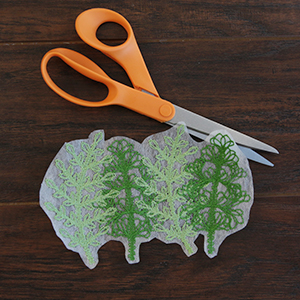
After all the embroidery is finished, trim away the excess stabilizer.

The stabilizer's packaging should give instructions for removing the excess. For Vilene, soak the embroidered lace for a few moments.
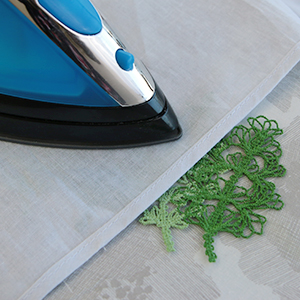
Allow the lace to air dry, and then press it with a pressing cloth on top.
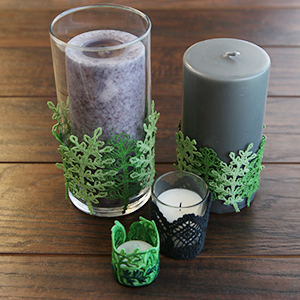
Different lace candle wraps are made for different sized candles.
Make sure to look at the measurements to see which lace wrap will fit which candle.
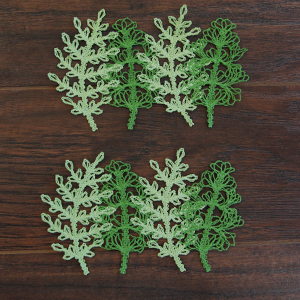
If embroidering a pillar candle wrap, make sure to sew two copies of the lace piece.
If making a candle wrap for a tea or votive candle, only one sewout is needed.
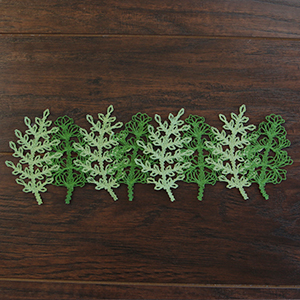
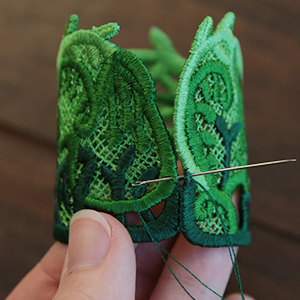
Take the two pillar candle wrap pieces, and overlap them as needed to fit around the chosen candle.
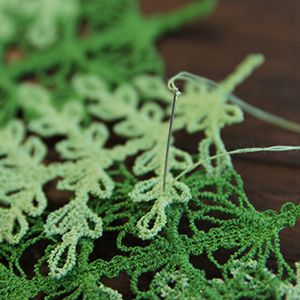
Use a hand sewing needle and matching thread to sew them together where they overlap.
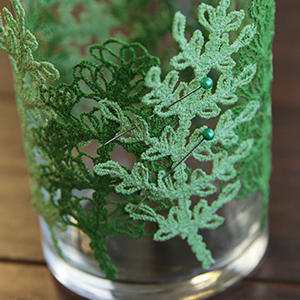
Then wrap the two connected lace pieces around the chosen candle, and allow the unsewn sides to overlap. Pin the ends together where they overlap.
Remove the lace wrap from the candle without unpinning the edges.
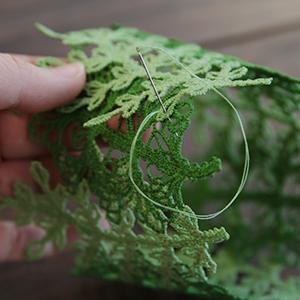
Use a hand sewing needle and matching thread to sew the candle wrap into a loop, and slide it back onto the candle.
For votive or tea light sized candle wraps, match up the two ends to make the wrap into a loop. Sew the two ends together with a hand sewing needle and matching thread, and slide it onto the candle.


