Combine the beauty of freestanding lace and organza with a simple tutorial that demonstrates all the techniques that you need to create an in-the-hoop bookmark.
Supplies
- Green organza
- Water-soluble stabilizer
Tools
- Temporary spray adhesive
- Scissors
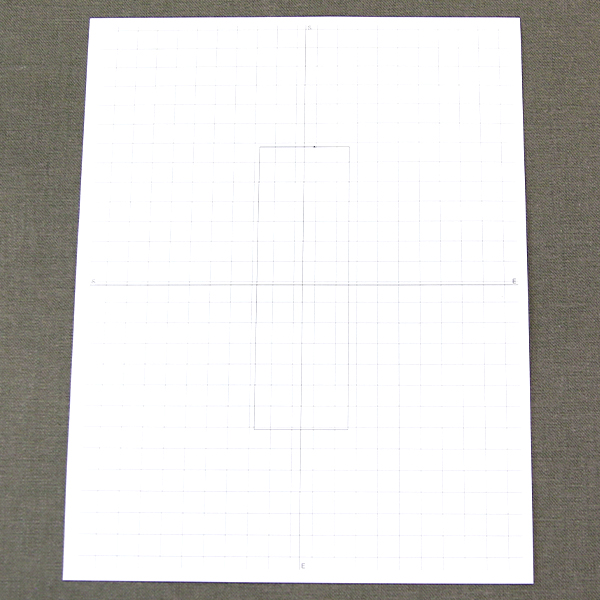
When you download an in-the-hoop bookmark design, you will find multiple files. Some are the embroidery files, and the others are dieline files marked with the letters "DL".
Dielines are used to cut the fabric to the correct shape and size. Open and print each dieline file using an embroidery software. If you do not have an embroidery software, take a look at our helpful video on using dielines.
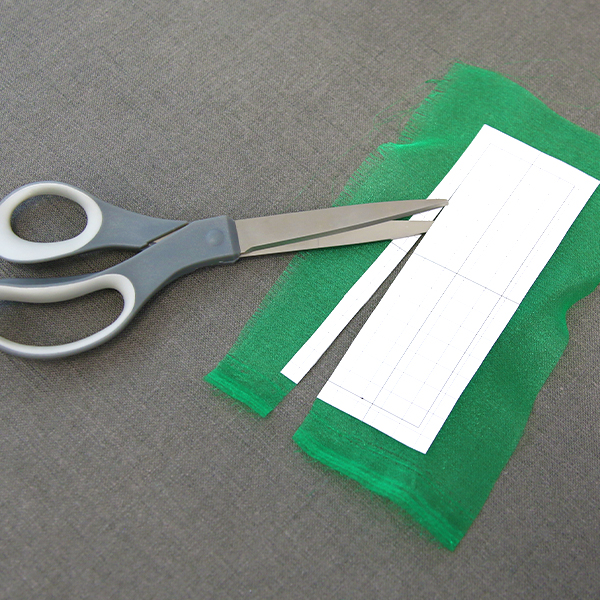
Spray the printout of the dieline with a small amount of temporary adhesive, and smooth that on top of the green organza piece.
Cut out the shape.
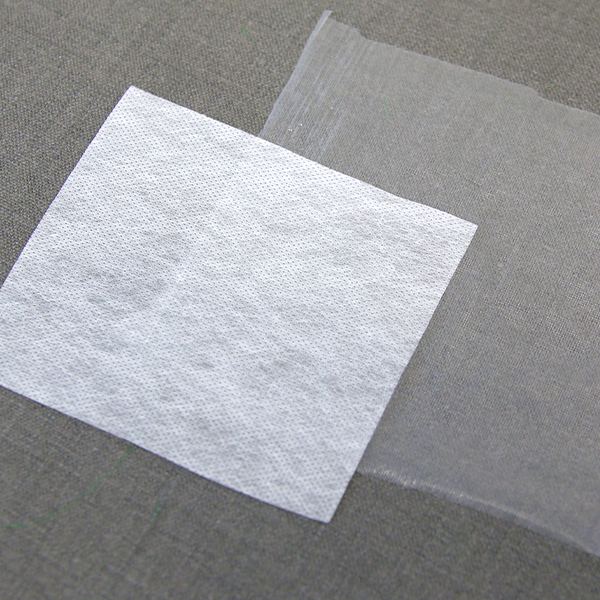
There are a couple different kind of water-soluble stabilizer. One is clear and plastic, called Sulky Ultra Solvy. The other is soft and fibrous, called Vilene. Both work well. Vilene is used in this demonstration. Use a size 11 or a 75/11 sharp sewing needle. A sharp sewing needle has a smaller, finer point than an embroidery needle. That means it will make smaller holes in the stabilizer.
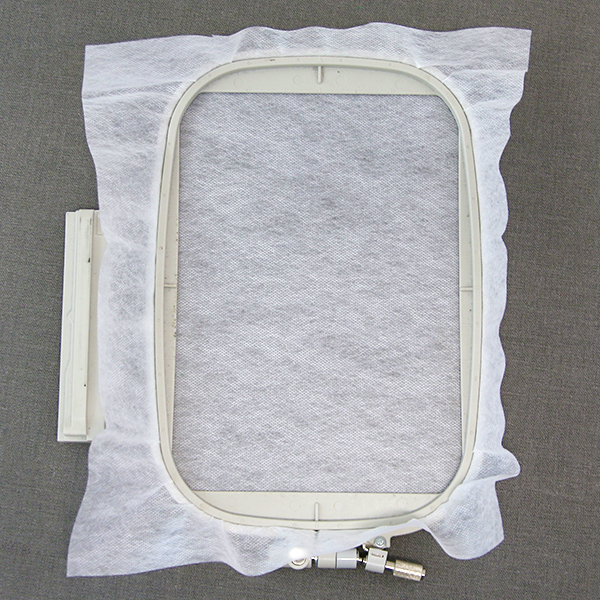
Hoop the water-soluble stabilizer together firmly. Make sure it is nice and tight with no wrinkles.
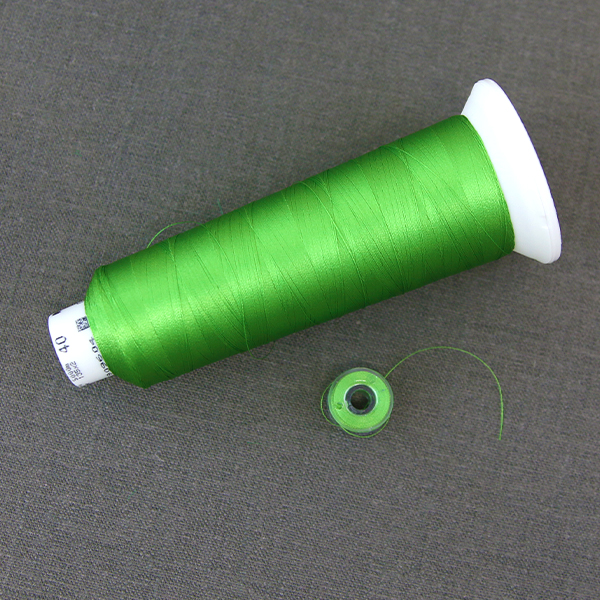
As this design will be seen from both sides, you can choose to wind a bobbin to match every thread color used in the design. You can also choose to match the bobbin thread to the lighter green thread used in the majority of the design for a simpler option, as we did in these instructions.
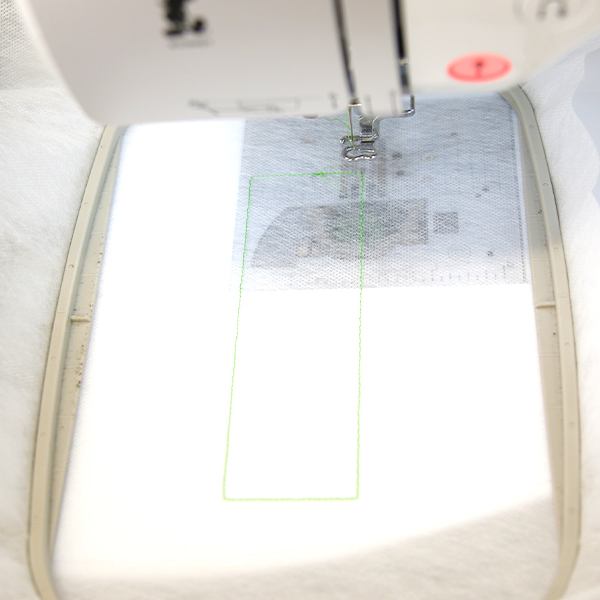
Attach the hoop to the machine and load the full embroidery design (not the dieline).
Embroider the design. The first thing to stitch is an outline that traces the shape for the organza piece.
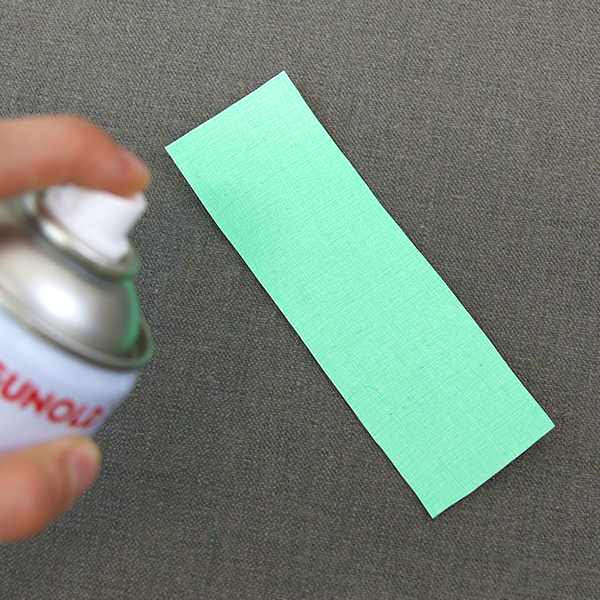
Spray the back of the organza piece with temporary adhesive. We left the paper dieline on the back of the organza while spraying with temporary spray adhesive, but this is not necessary. The paper dieline should be removed before placing it in the hoop and embroidering.
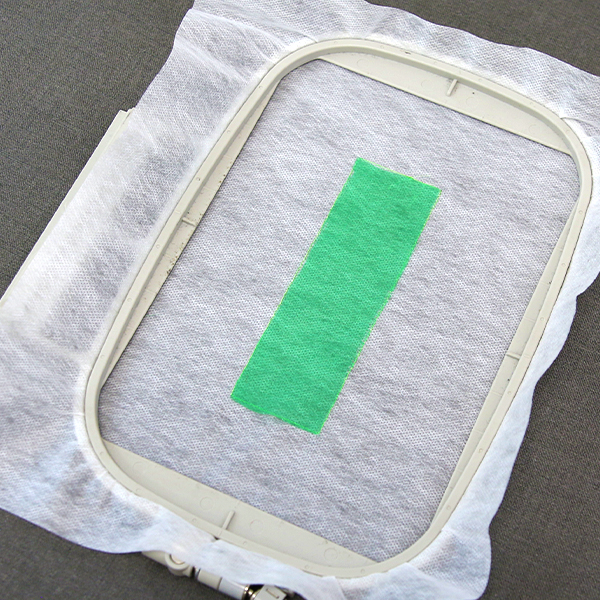
Place the organza piece inside the stitched shape.
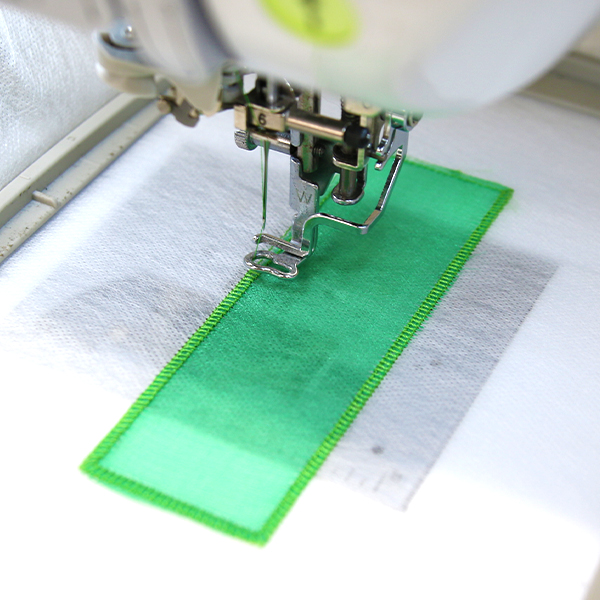
The next thing to stitch will be a zigzag or tack down stitch. That holds the fabric in place during the rest of the embroidery.
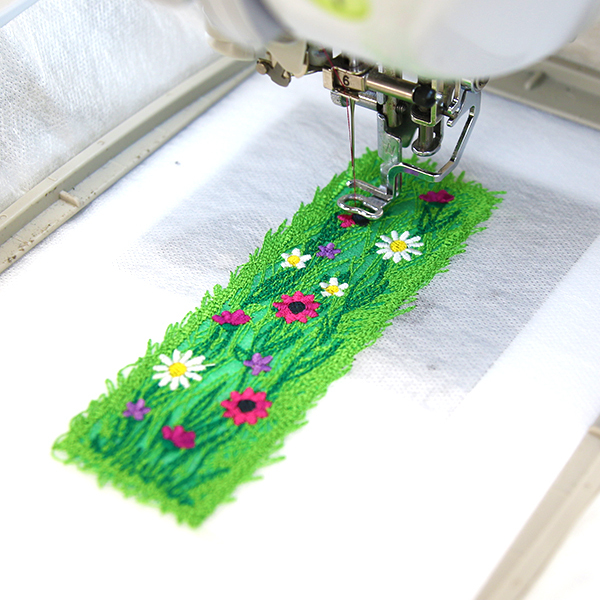
Continue stitching the design, following the color change sheet until the design is finished.
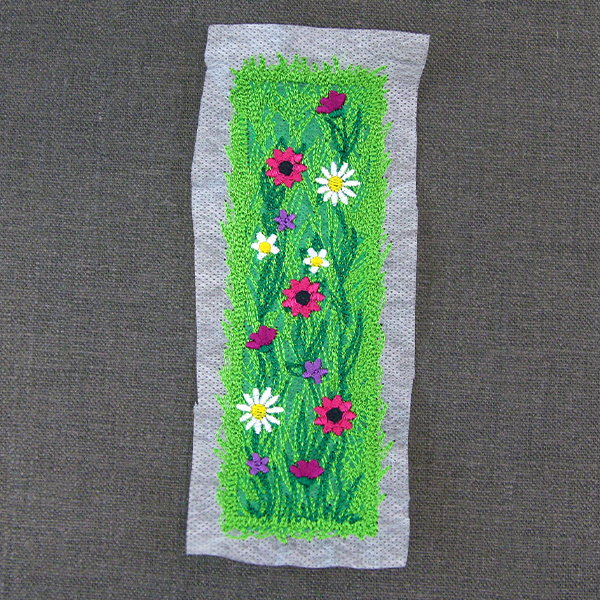
Once all the embroidery is finished, unhoop the design and stabilizer. Trim some of the excess stabilizer, not getting too close to the design.
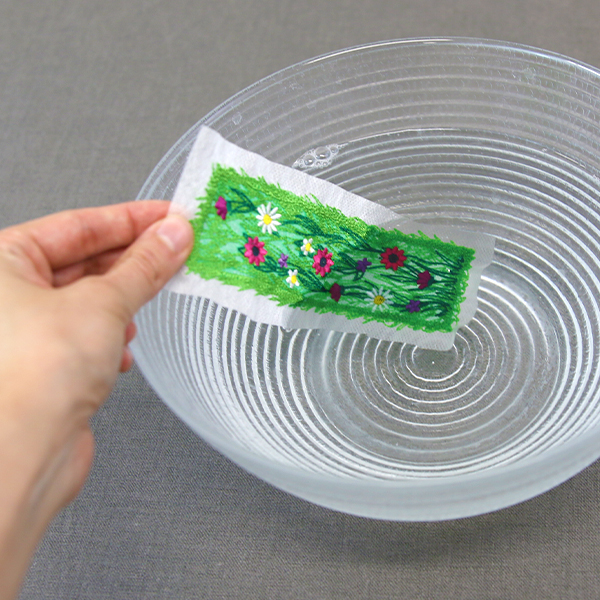
The stabilizer's packaging should give instructions for removing the remaining water-soluble stabilizer. For Vilene, soak the embroidered design in water for a few hours.
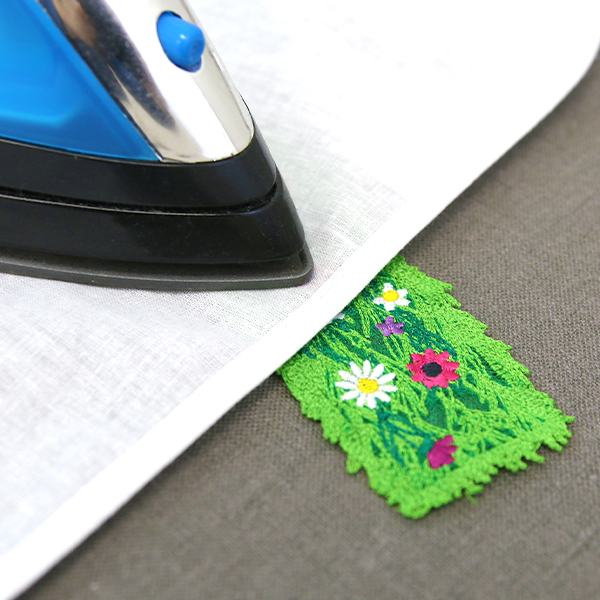
Allow the design to air dry. If needed, press the design with a pressing cloth on top to help flatten the finished bookmark.
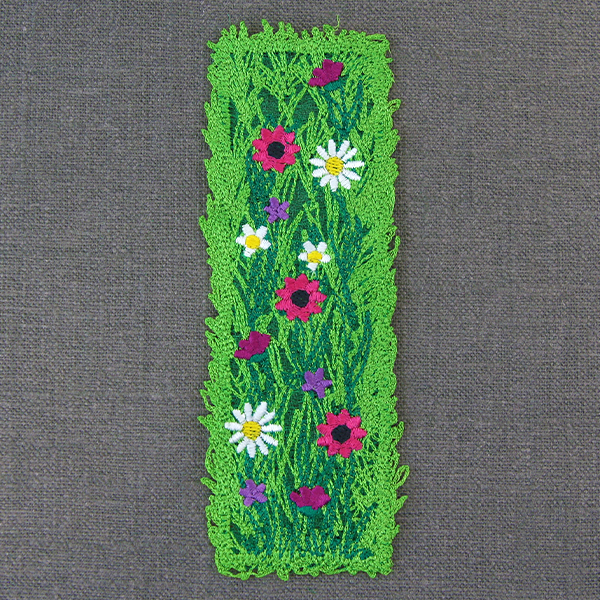
From there, you’ll have your finished bookmark. These in-the-hoop bookmarks are a creative way to mark your place while reading, and are especially nice to give as gifts for friends and family.


