Create a fun surprise on any garment with these adorable Pocket Pairs. This tutorial will walk you through placing your embroidery design on your project and crafting the perfect sized pocket for your character to pop out of!
Supplies
To create your own pocket surprise, you will need:
- Your favorite Pocket Pairs embroidery design
- Pocket fabric
- Printed pocket template, available below.
- Sheer mesh cutaway stabilizer, such as Sulky Soft 'n Sheer or Floriani No Show Mesh
- Temporary spray adhesive
- Scissors
- Pins
- Air erase fabric pen or tailor's chalk
Designs Used
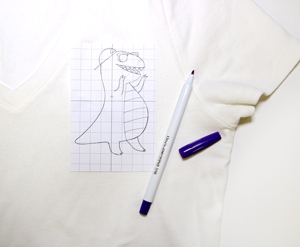
Begin by embroidering your character onto your garment or project. Using printed templates of the embroidery design will ensure perfect placement on your project. (Here's more on how to print templates.)
We recommend using a sheer mesh cutaway stabilizer adhered to the back of the fabric with temporary spray adhesive for best results. Make sure to hoop both fabric and stabilizer together taut before stitching.
Some designs, like our Hanging Out Kitty Pocket, have the pocket shape in the embroidery file. If making one of these designs, hoop the pocket fabric with a soft, mesh stabilizer (such as Sulky Soft n' Sheer) on the back. Then follow the color change sheet to sew out the design.
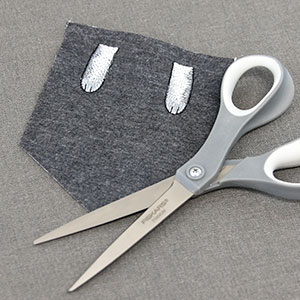
After the embroidery is completed, unhoop the design, and cut out the pocket shape along the sewn "Cut Line". This "cut line" includes the 1/2in seam allowance. Then continue onto the step about folding the 1/2in seam allowance over and pinning it.
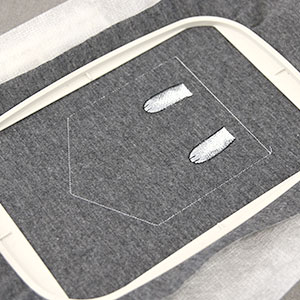
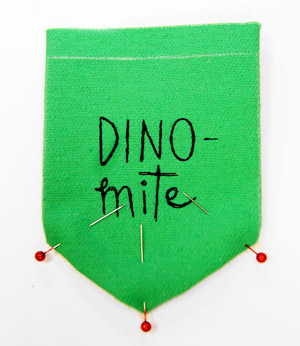
If the embroidery design does not include the pocket shape in the file. Embroider the design on the pocket fabric with a soft, mesh stabilizer on the back. Then use the correct size of the PDF template, and a fabric marking pen to trace your pocket size around the embroidery design.
The large pocket size goes with the large design size, the medium pocket goes with the medium design size, and the small pocket goes with the small design size.
After you have traced the pocket around the design, make sure to add 1/2 in seam allowance around the traced shape. The PDF template does not include seam allowance as it makes it easier to position over the design.
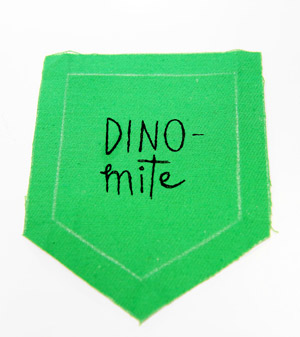
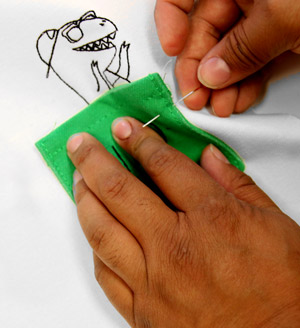
Use pins to fold back your seam allowance on all five sides.
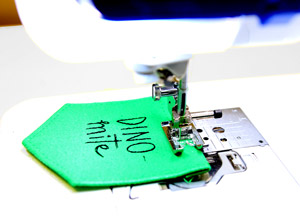
Stitch a 0.25" seam around your pocket using matching thread. Make sure to back tack on both ends for a secure hold.
Next, pin the pocket in place over your embroidered character. Make sure to tuck the bottom half of any characters (and the bottom left corner of the camera) underneath your pocket square.
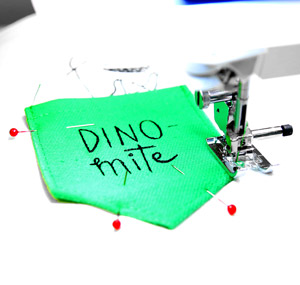
Finish off your project by stitching a 0.25" seam around the sides and bottom of the pocket onto your garment (leaving the top of the pocket open).
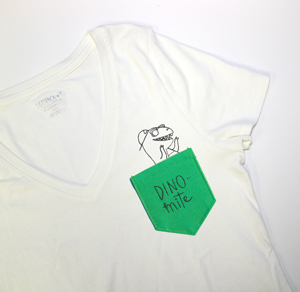
The result is a sassy pocket with a surprise when you look inside!
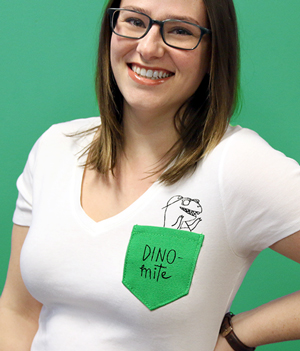
Whether you're stitching onto your new favorite tee, tote, pillow, or project, this Pocket Pair is sure to generate some excitement!


