There's something so fun about going big and bold with embroidery. Like with the new Candlelight Tales collection -- each full design is divided up into three pieces to let you maximize the power of your hoop. The question is, how do you show off that big and beautiful embroidery? Well, this wall scroll is a simple and chic way to showcase that big embroidery project you're so proud of!
Supplies
To make your scroll wall hanging, you'll need:
- Your favorite Candlelight Tales split embroidery design
- Printed templates of the designs for placement (here's how to print templates)
- Two wood dowels and wood knobs
- Hot glue gun and glue sticks
- 1/2 yard of canvas fabric
- Medium weight cutaway stabilizer
- Temporary spray adhesive
- Twine
- Handing hardware
- Spray paint for wood
- Black tea (optional)
I am using the largest size of the Romeo & Juliet embroidery design from the Candlelight Tales collection. These pieces measure around 8 x 8 inches each, so the finished full design could end up as tall as 24 inches. However, in most cases it will be smaller, as the three-piece sections slightly overlap each other to create the full design. If you are curious about how long each completed design will end up, make sure to check out the product description for each design. This will give an approximate finished length.
Given my design choice, I want the width of my finished scroll to be around 12 inches, so I cut a piece of canvas fabric 14 inches wide, and used the length that the fabric comes in on the bolt (44 inches). This gives me plenty of space to hem my fabric on all sides, and lots of extra inches to play with how much I want to roll or unroll the scroll when I hang it.
Designs Used
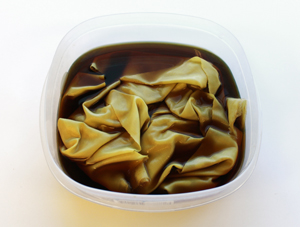
The first thing we can do is tea dye the fabric for a vintage look. I also used some old coffee, mixed with some hot water and black tea bags. Black tea tends to dye fabric more brown, while coffee fives a more yellowed dye effect.

Here is the fabric wet, after soaking for 30 minutes or so.

While the fabric is drying, hot glue the wooden balls onto the ends of the dowels.
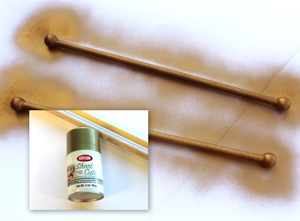
After the glue dries completely, spray paint your scroll rods any color you like! This step is optional, but it's nice because it covers up any messy hot glue edges that might have happened in the previous step, and makes them look more like metal tapestry rods. I sprayed mine copper-colored.
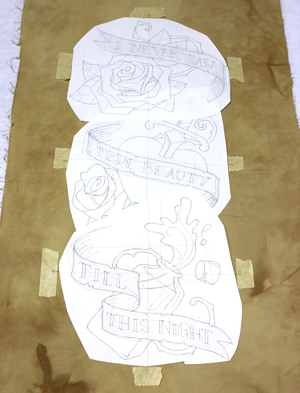
After your fabric dries, iron it flat. Then find the center of your fabric and mark a line for your 3 pieces of embroidery to line up on.
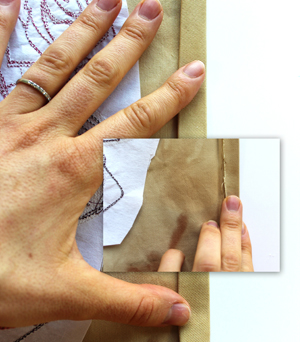
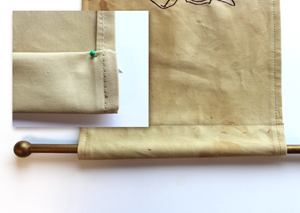
Using printed templates helps in this process. If you need a refresher on how to print these, click here.
I eyeballed this using my templates and marked the center point and the horizontal axis lines using masking tape and a pencil.

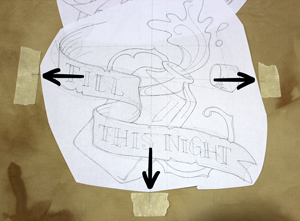
In addition to marking the axis lines on your tape, it's helpful to punch through the middle of the printed crosshairs of the templates to mark the center of the design on your fabric.
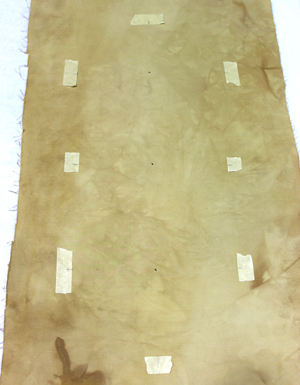
This way, you have precise hoop markings for the designs as you stitch each one out. If you need any further tips on stitching multi-piece designs together like this, check out this tutorial.
Start your embroidery! Attach your medium weight cutaway stabilizer to the back of your fabric with temporary spray adhesive. Hoop both together tightly for each section.
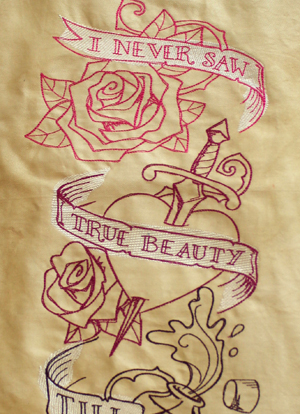
When each piece is done stitching, you'll have a nice big beautiful design cascading down your fabric! The nice thing about these patterns is they're designed to have a little wiggle room with how they overlap. Even if you're off by a little, they will still look great.
Now that the embroidery is done, we're going to hem the long edges of your fabric scroll. I folded 0.5 inches in once, and 0.5 inches in again for the hem.
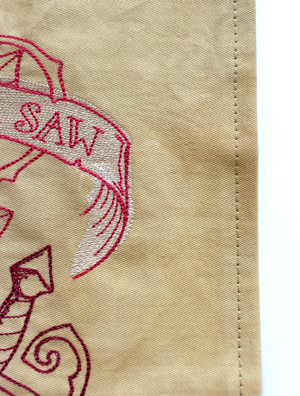
Sew a seam down both sides of your fabric.
Play around with how long you want your scroll to be and how much fabric you would like to roll onto our dowel.
You can trim the fabric down and sew a loop for the dowels to slide through (remember to leave enough room for your knobs to slide through at this point!)
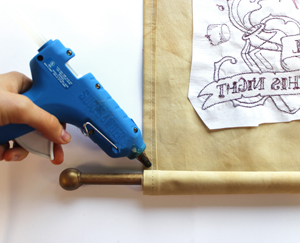
Then you can roll up the scroll to the place you like and add a few dabs of hot glue to keep the roll in place.

Your scroll is ready! Now it just need a little help to hang.

Tie your twine to each edge of the top dowel, and hang up wherever you like!
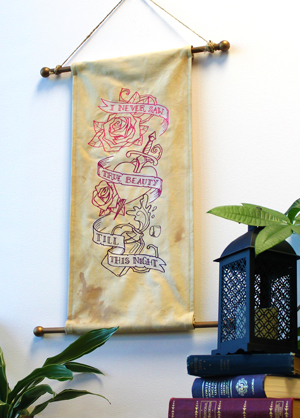
It makes a great wall accent for any bibliophile, craft lover, or both!
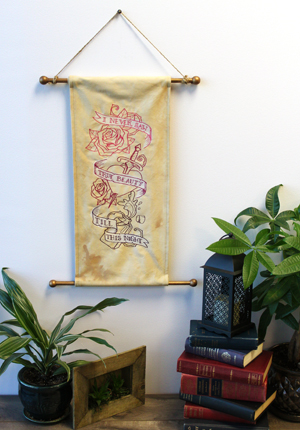
It's a super simple and elegant way to showcase your favorite new Candlelight Tales quote, or any big and bold embroidery creation you craft.


