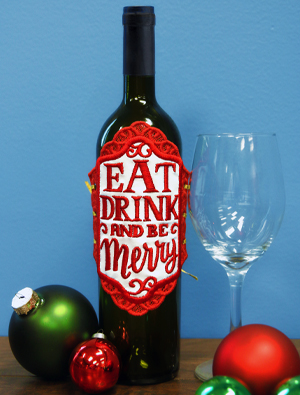
Bring extra cheer to your holiday parties and bottled gifts, with this combination lace and fabric bottle label! This tutorial will walk you through the simple process of creating this delightfully elegant design.
Supplies
To craft your lace bottle label, you will need:
- Be Merry Bottle Label (Lace) embroidery design
- 100% cotton thread (30-50wt) for the lace
- Rayon thread (40 wt)
- Printed dielines (here's how to print dieline templates, or stitch if you don't have software)
- Oilcloth
- Scissors
- 1/8 inch ribbon to lace up the label
Designs Used
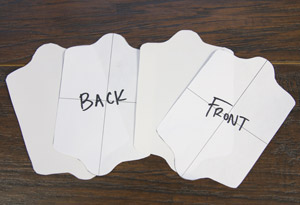
Begin by cutting the front and back pieces of your oilcloth. You can do this with printed templates of the DLfront and DLback in embroidery software, or by stitching these files directly onto the cloth and cutting around the stitches.
NOTE: The DLfront and DLback files look similar, but there are slight differences, so it's important to use each to cut your oilcloth pieces to ensure a proper fit.
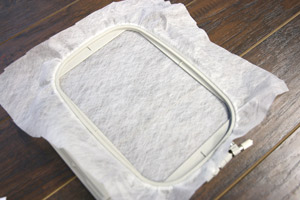
Next, hoop up a large piece of water-soluble stabilizer. We recommend using Vilene for this project specifically. Pay attention to hooping your stabilizer as taut as you can make it. If you cut a piece too small, it's harder for your hoop to grab the stabilizer, which leads to gapping and shifting in the lace. More on that here.
Stitch your freestanding lace portion of the design, using 30-50 wt 100% cotton thread for best results.
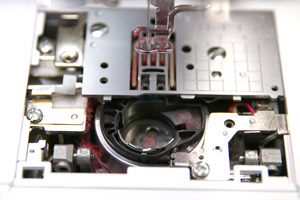
Because cotton thread can be so fuzzy, I recommend taking the time after you stitch your cotton lace to get all that fuzz out of your machine before continuing on to the next steps. This is relatively simple to do and is well worth the time.
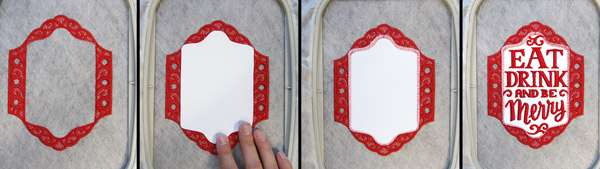
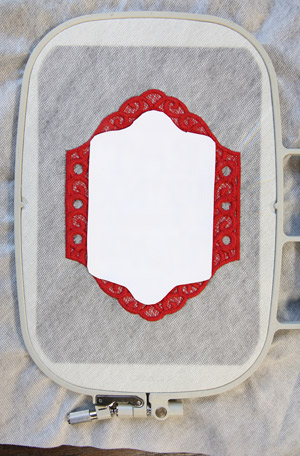
After your lace is finished stitching, switch your bobbin and top thread to rayon. The first thing that sews is a dieline for your oilcloth. Lightly spray the back of your "Front" oil cloth piece with temporary spray adhesive, then place it so it completely covers the dieline. A tackdown will stitch, followed by the inside details of the bottle label.
Next, detach your embroidery hoop from your machine, but DO NOT UNHOOP YOUR STABILIZER. Turn the hoop over, then spray the back side of your "Back" oilcloth piece. Firmly but gently press the piece down onto the back of your embroidered piece, then reattach your hoop and continue stitching.
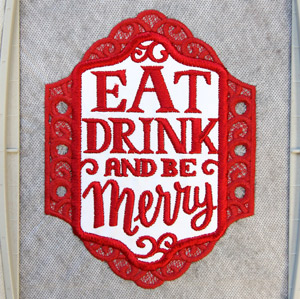
Again, your machine will stitch a tackdown for the back piece of the oilcloth. Then, the final color change stitches the satin border around the oilcloth.
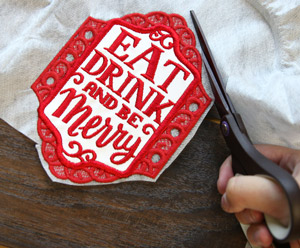
When you're done stitching, unhoop the stabilizer, and carefully cut around the edges of the design.
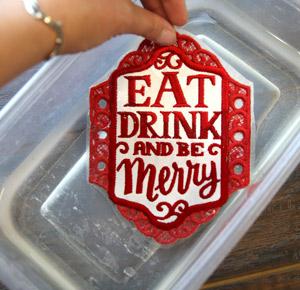
Rinse the remaining stabilizer out of the embroidery and set to dry.
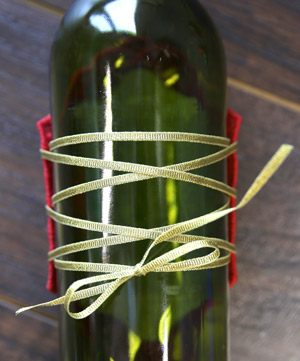
Use an 1/8 inch thick ribbon to lace your creation around a wine or drink bottle.
We recommend the smallest size of the design for 12 oz. (soda) bottles, and the medium or large size for 750ml (wine) bottles.
Stitch in a variety of festive colors for the yuletide season, New Year's Eve, weddings, and more!


